When a serialized inventory item is sold, the salesperson will be required to select the serial number prior to posting the invoice.
Note: If a serialized inventory item is selected when creating an invoice but not posted, the Status of the Inventory Item changes from In to Sold. This prevents others from selecting the item for sale. Once posted, the inventory item Status changes to Out and is no longer available in the system.
- Navigate to Customer Menu / Customer Maintenance and select customer to be invoiced.
- Choose Invoices. Select Create and enter the Service Location #, Service Order Type, and Sales Rep (optional).
- Enter the Item number. If the item number is unknown, press F5 to select from a list.
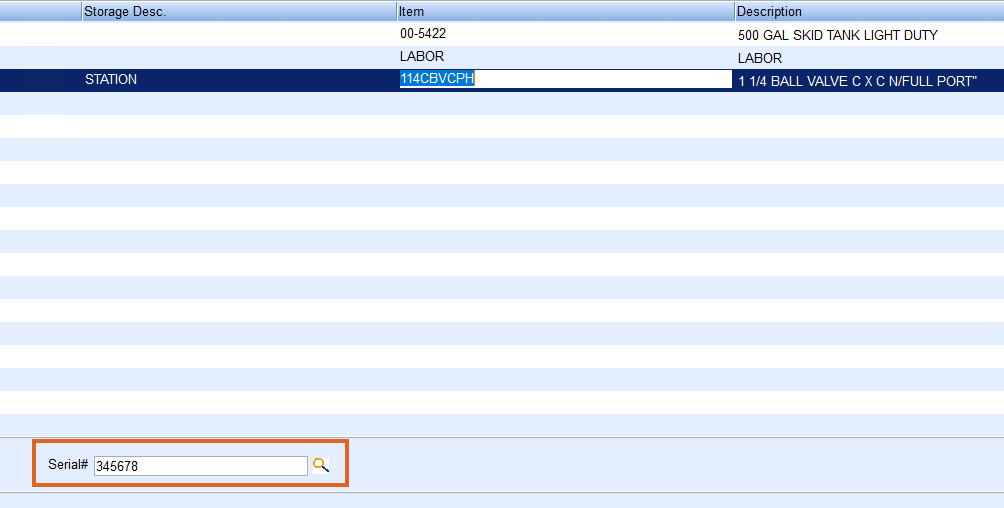
- When a serialized item is selected, a Serial# field will appear on the Invoice screen. The quantity will automatically default to 1.0 and cannot be modified.
- Select the Serial# Search button. A Select Serial# screen will appear.
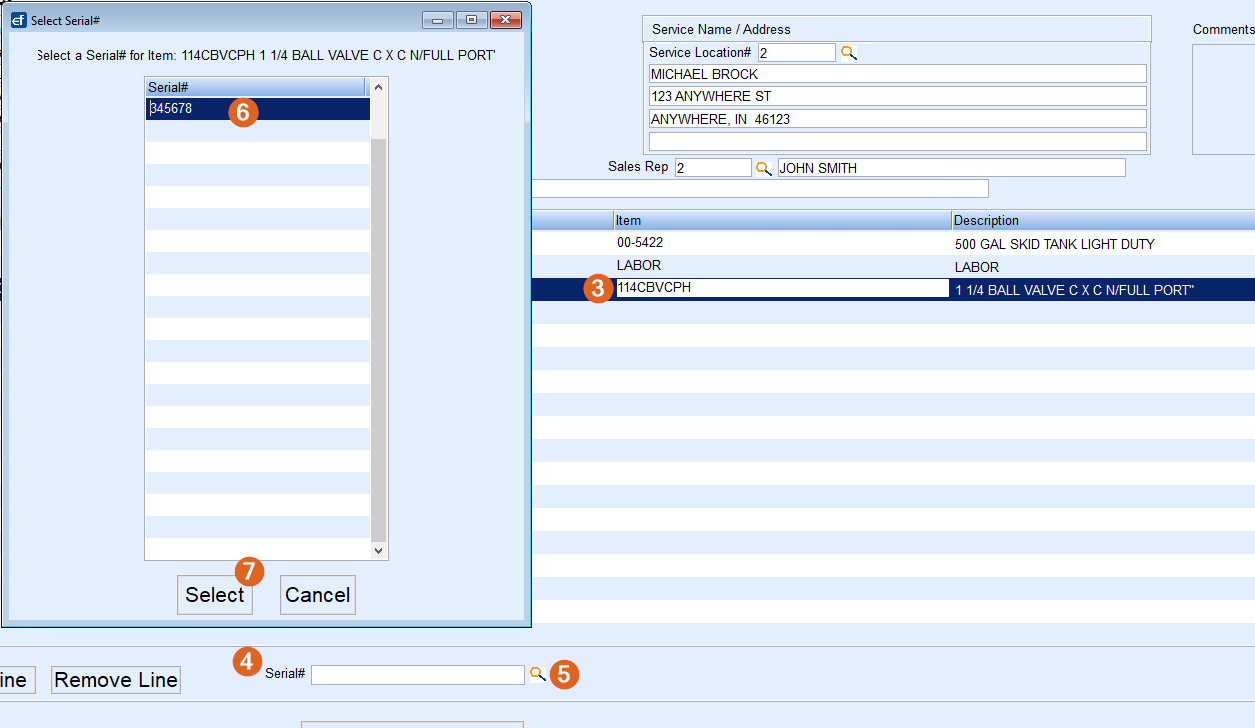
- Select the Serial#.
- Choose Select. The Select Serial# window will close, returning to the Invoice screen. The serial number associated to the inventory item will now display.
 Note: The serialized item selected will change from being considered In inventory to Sold. This serial number will no longer appear in the Select Serial# list. Once the Invoice is posted, the inventory Status will change to Out.
 - Continue to add Inventory Items as necessary. Review the Invoice for accuracy and select Post.
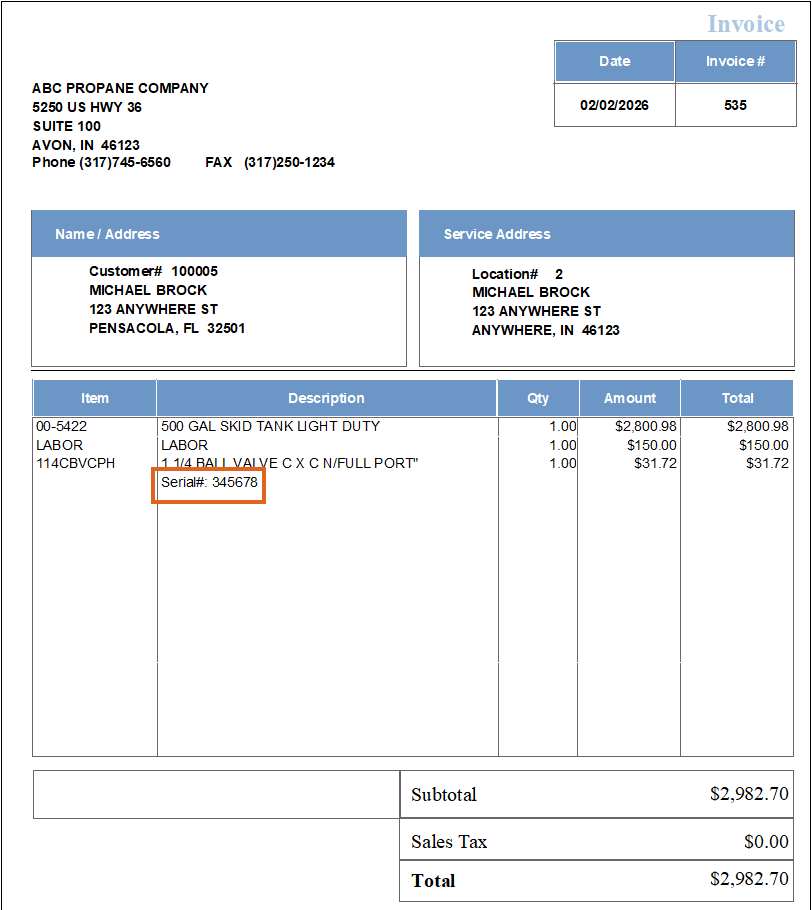
- Choose the number of invoices to print. The customer will be billed for the Inventory Item(s) and inventory quantities will be reduced. The printed Invoice will display the serial number sold.

 Note: The serialized item selected will change from being considered In inventory to Sold. This serial number will no longer appear in the Select Serial# list. Once the Invoice is posted, the inventory Status will change to Out.