The service charge file must be created in order to process, review, and update service charges. Service charges can be applied to balances 30 days and more, 60 days and more, or 90 days and more. The amount applied for the service charge is determined by the percentage entered in the Division Setup. A minimum amount for service charges can also be set up in the Division Setup. If a calculated service charge is less than the minimum amount, the minimum amount will be applied. Customers are set up to be billed for service charges and minimum finance charges on the Address & Information tab in Customer Maintenance. The Service Charge Report listing customers that will have service charges can be printed and will include the calculated service charge amount and the balance on which the service charge was calculated.
Important: Run the Age Analysis prior to running Service Charges.
The Service Charge File must be processed prior to creating monthly statements so that the charge appears on the customer statement and matches customer history. If statements are created before service charges are run, the statement will reflect an amount lower than what is due on the customer account.
- Go to Main Menu / Month End Menu / Service Charges.
- Choose Create or press Ctrl+C on the keyboard.
- Enter the Division, Description, Process Date, Age 30/60/90, A/N Sort, and File Name. It is best to use the month and year for the file name to use as a quick reference as to what the file contains.
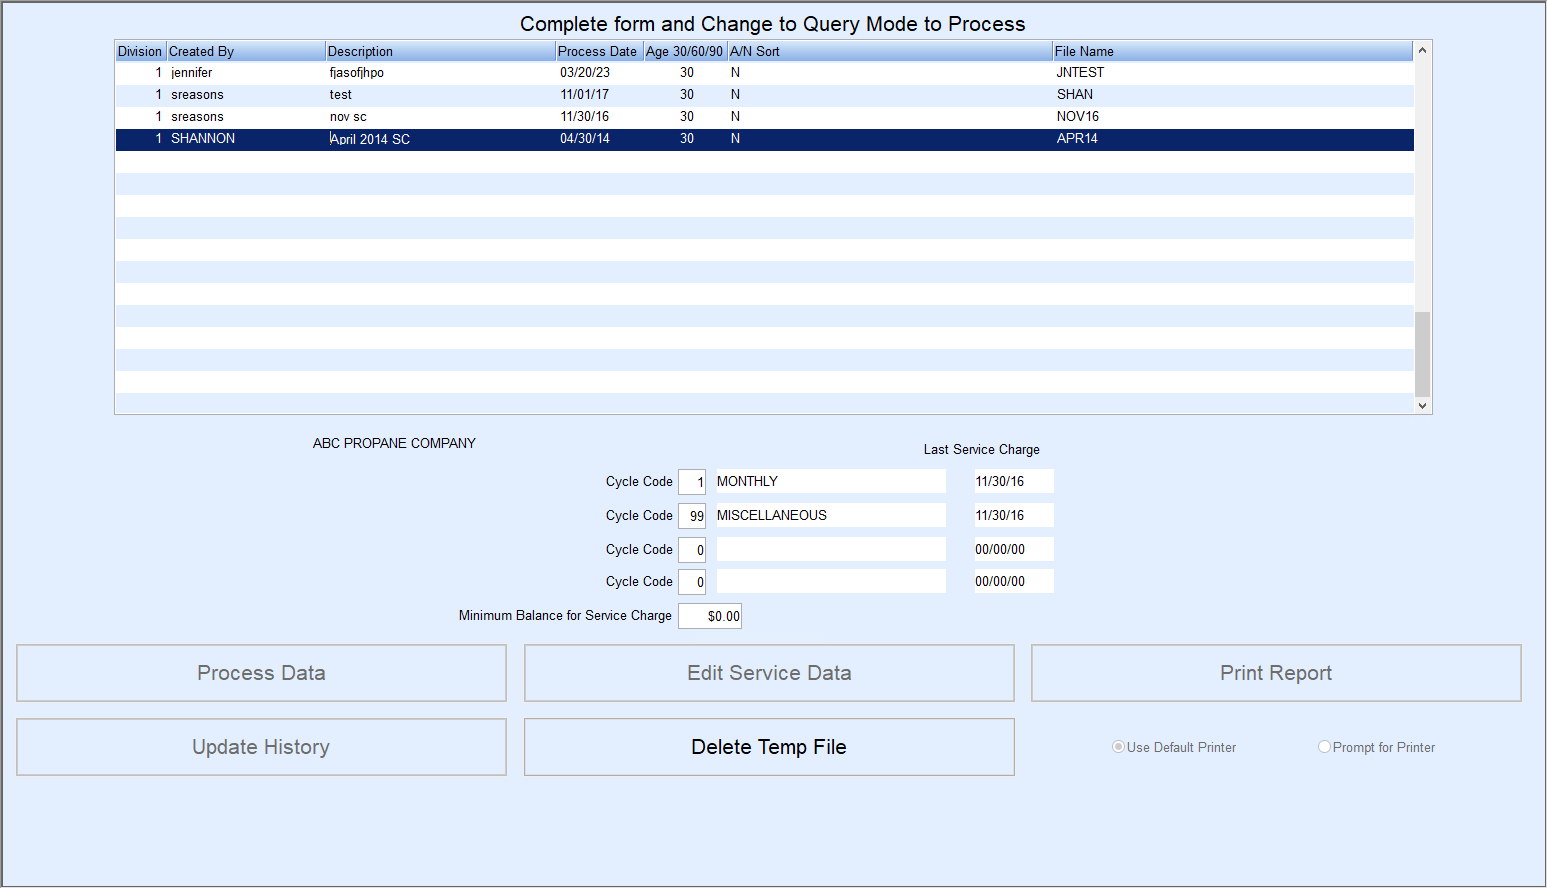
- Enter the Cycle Codes that are to be processed. Process up to four Cycle Codes at one time.
- Enter the Minimum Balance for Service Charge and press Ctrl+Q to save.
- Customers must have a past due balance that meets or exceeds this amount in order to receive the percentage entered in the Division Setup.
- If a Minimum Finance Charge was entered in the Division Setup and customers are tagged with a Y for Finance Charge, customers falling below the Minimum Balance for Service Charge will receive this flat fee.
- Select Process Data. Once the program has completed, the Edit Service Data, Print Report, Update History, and Delete buttons will highlight.
- Edit Service Data – This gives the ability to edit/delete the amount being charged to each individual. Press Ctrl+M to Modify. Press F3 to delete and verify with Yes or No.
- Print Report – This allows printing a report of all customers receiving a Service Charge or Minimum Finance Charge fee. It is recommended to print this report for review before and after editing the Service Data.
- Update History – Once all Service Charges and Minimum Finance Charges have been edited, select Update History so the fees apply to the customer accounts. If this is not selected, the accounts will not update and the Service Charges will not appear on the monthly billing statements.
- Delete Temp File – This deletes the file selected. This can be a file that was previously processed which can no longer be edited or can be used to delete a file before Update History is selected. For example, if Process Data has been chosen and it is discovered through Edit Service Data that some customers are missing, delete the file and create a new one once the accounts have been updated to receive the charge.
- Select Print Report.
- Choose Edit Service Data.
- Select Print Report.
- Choose Update History.
- A journal will write to the Sales Entry screen and apply Service Charges to individuals located in the service data files.
