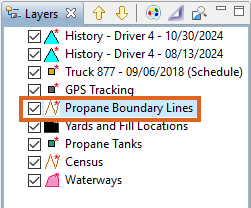
- Highlight the appropriate layer for editing (Propane Boundary Lines or Other Boundary Lines).
- Zoom in to the route boundary area to be edited.
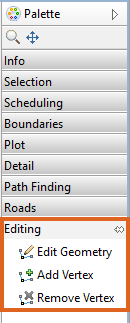
- Select the Editing tool located on the Palette.
- Select Edit Geometry.
- Choose the route boundary lines. This will highlight the route for editing.
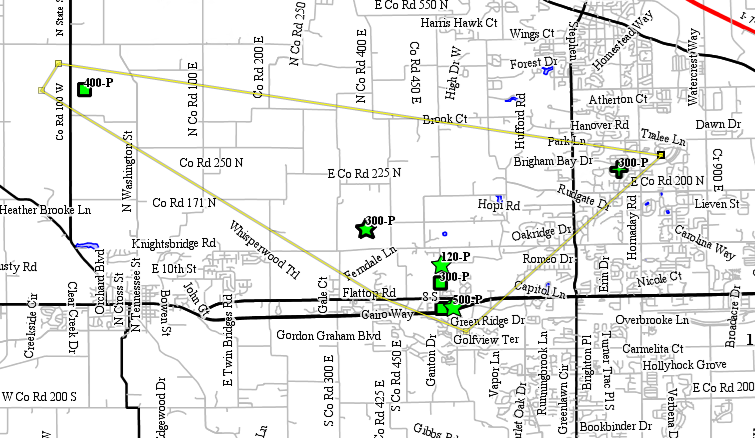
- Using the Vertex symbols (this is the point made when creating the original boundary), select and drag the boundary lines to the desired area.
- If needed, add a Vertex to the route boundary to extend the boundary area.
- Choose Add Vertex from Palette.
- Select to add Vertex to desired position on boundary line.
- Choose Edit Geometry once more to continue editing the lines.
- A Vertex can be removed if necessary:
- Select Remove Vertex from the Palette.
- Choose the Vertex to be removed.
- Select Edit Geometry to continue editing the lines.
- Select Commit Route Boundary from the toolbar to save.


