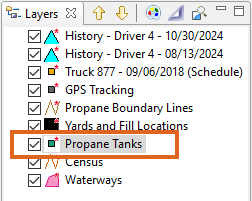
- Select the appropriate Tank Layer located on the Layers tab (Propane or Other Non-Propane Tanks).
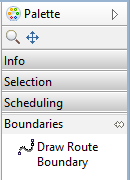
- Select the Boundaries tool located on the EnergyMap Palette.
- Choose Draw Route Boundary.
- Select on the map where to begin the boundary.
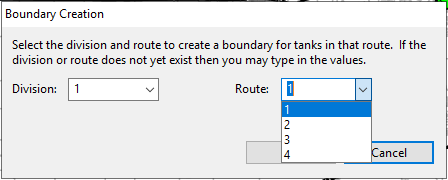
- Choose the Division and Route number and select Ok. If the Route number does not exist, it can be added by entering it in this field.
- Draw a boundary line around the tanks.

- Press Shift and double-click to finalize the boundary.
- The boundary line will complete at the starting point.
- Select the Commit Route Boundary Changes icon from the toolbar to save.


