Deferred Billing bills customers for their usage based on Remote Tank Monitor readings. Deliveries are made to an inventory department at $0 and once a month they are billed for their usage at the average price for the month.
Rules
- Monitor readings have to be imported through the Remote Tank Monitor import program.
- The Deferred Billing program can automatically charge an upcharge for premium product on contracts. Product-level contracts will need to be set up for the upcharges to work.
- The Deferred Billing program does not process splits.
- This program does require a user role.
Deferred Billing is located at Meter Menu / Deferred Billing.
Maintenance Table Setup
Maintenance Tables
Navigate to Supervisor Menu / Maintenance Menu / Maintenance Tables.
- Departments for each inventory need to be set up for the deliveries. The departments will need to have the tank Type filled in and Gas Dept set as Y. The Interface Billing Code is 81, the Posting Transaction Code is 14, and Global Department needs to be checked.
- Departments for the usage need to be set up for each fuel. The departments will need to have the tank Type filled in with Gas Dept set as Y. The Interface Billing Code should be 82 and the Posting Transaction Code is 13.
- Price Codes need to be created for each inventory product at $0. This is for the deliveries.
- Price Codes need to be created for each usage department. These Price Codes need to be set up with Price Type set to 0 and Avgd Price set as Y. Prices need to be kept updated. The best way to do so is using a Rack Code.
- Two Meter Cycles should be created - one for Deferred Billing and one for Deferred Billing final processing.
Deferred Billing Product XRef
Navigate to Meter Menu / Deferred Billing / Deferred Billing Product XRef.
This table is used to identify which product number to bill based off of the delivered product. It also identifies which upcharge department to use if an upcharge applies.

Setup on the Customer Accounts
- Set up tanks on the customer account using the Inventory Delivery Department and Price Code with $0.
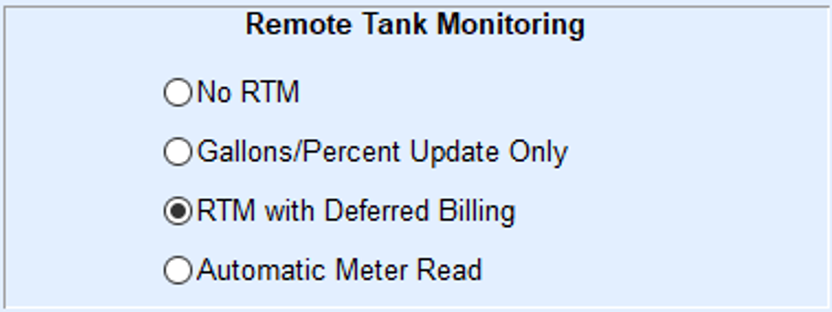
- Monitors need to be set up in the tank and meter inventory and placed on the customers’ accounts marked as RTM with Deferred Billing. For the Cycle Code, select the Meter Cycle for Deferred Billing. The default product on the monitor should be the usage department and Deferred Billing Price Code.
- The monitor needs to have an opening line in the Deferred Billing history for each product with gallons that are in the tank at the time of setup. The opening line will have the Delivery Date, Billing Date, Delivered Product, Billed Product, Transaction Type of billed, Delivery Invoice#, Gallons Delivered (which will be 0), Gallons Billed (which will be 0), and the Gallons Not Billed (which will need to be filled in with the number of gallons of the product in the tank).

- Monitor readings need to be imported for Deferred Billing to work, as Deferred Billing reads the Remote Tank Read Audit for the tank levels.


Deferred Billing Processing
Navigate to Meter Menu / Deferred Billing.
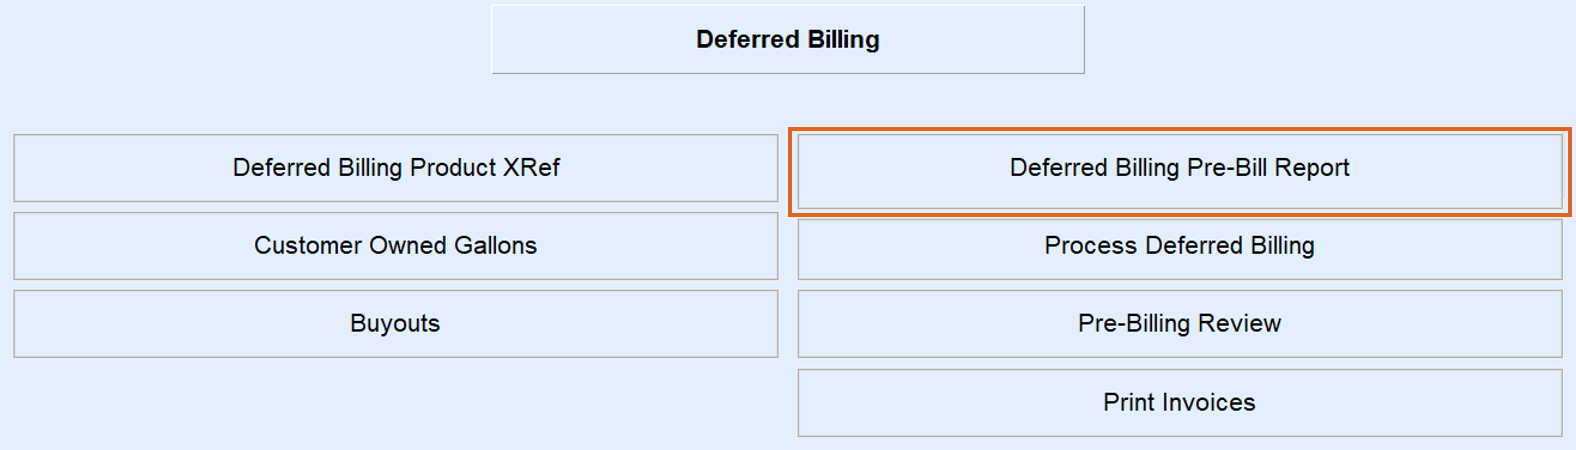
- Run the Deferred Billing Pre-Bill Report.
- Enter the Division Number of the customers. For databases that validate on tank location, the Division would be 1.
- Enter the Deferred Billing Meter Cycle Code.
- Enter the Process date and the Delivery End date (the date through which to include deliveries).
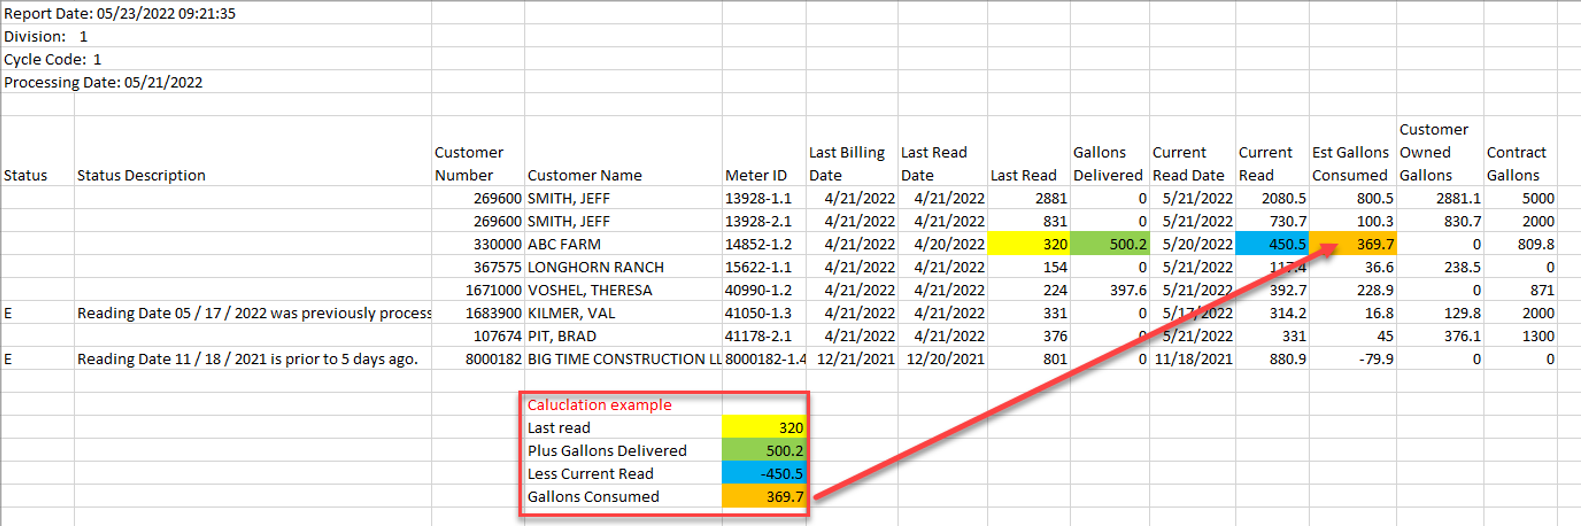
- Select Process. The report will open in Excel and will be saved in the CSV folder. This report will show how many gallons have been consumed and how many are going to be billed. Consumed gallons under 25 will not process and will wait until next month when the usage should be higher. Check for lines with an E in the Status column. These are Remote Tank Monitor errors and will not bill. Run the report several times during the month to check for Remote Tank Reading errors to ensure there is time to get them corrected prior to billing. Readings more than five days old will not be used.
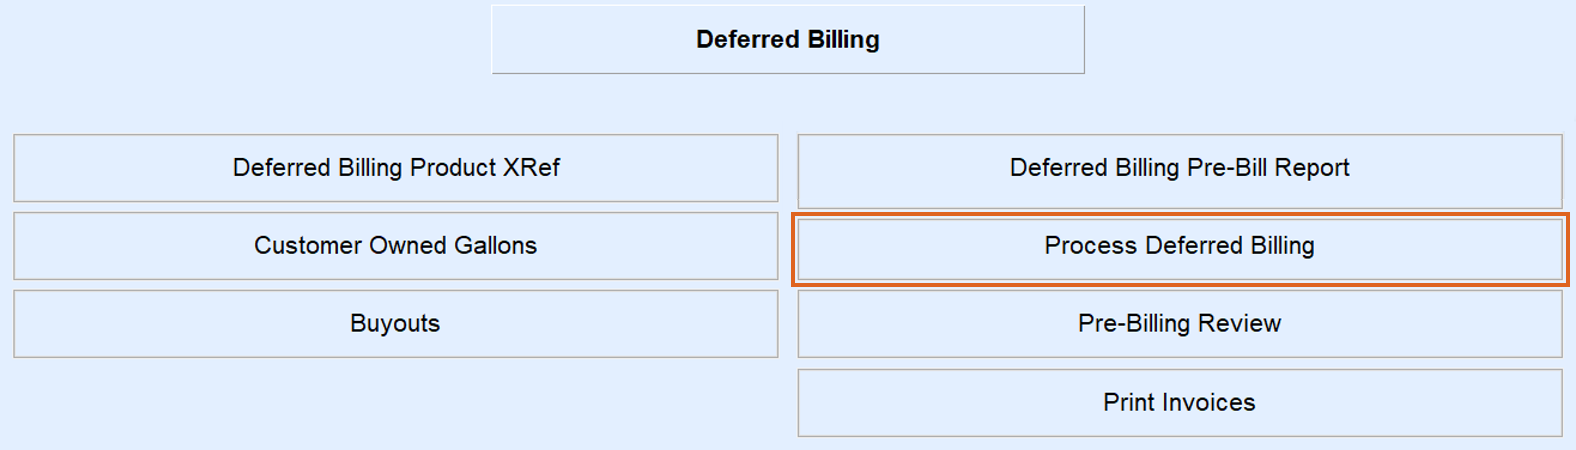
- Select Process Deferred Billing.
- Enter the Division Number of the customers.
- Enter the Deferred Billing Meter Cycle Code.
- Enter the Process date.
- Enter the date range for the price to average.
- Select Process. A report run to Video will display.
- Once the report is closed, the Pre-Post Review screen will display. This screen is defaulted to View All transactions. Select View Contracts Only to see contract transactions only. Upcharge transactions will also be displayed here.
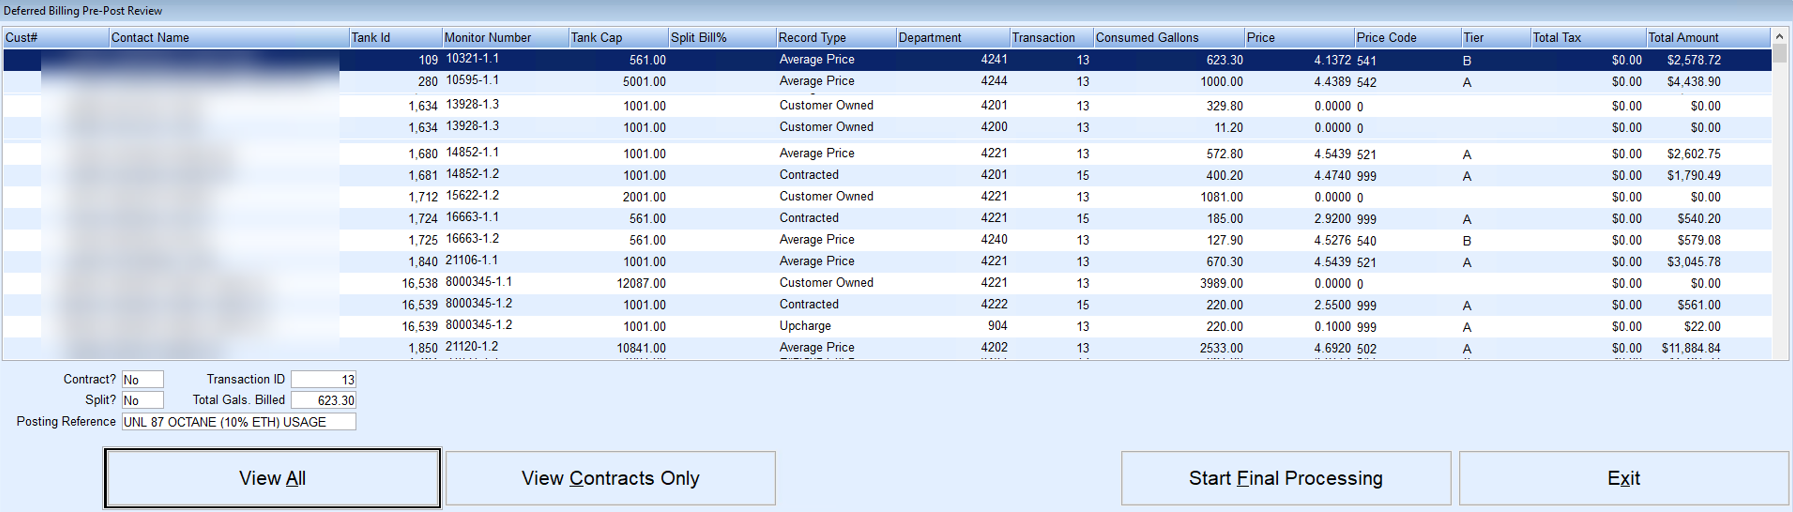
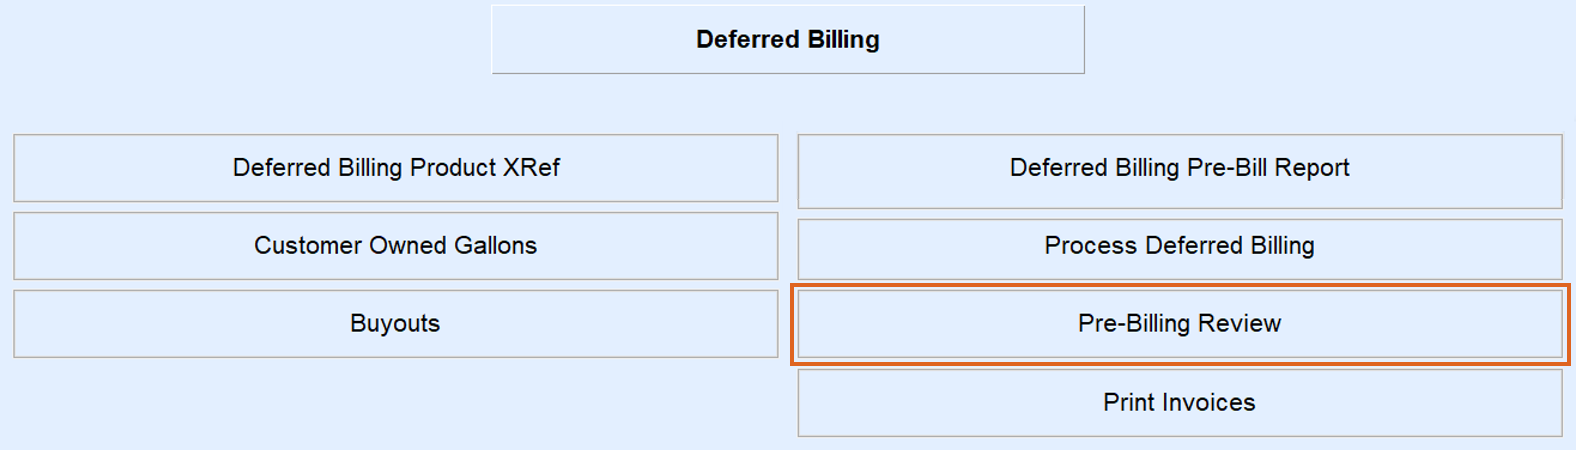
- If needing to return to this screen after exiting, go to Deferred Billing Menu / Pre-Billing Review.
- Select Start Final Processing when ready to post the transactions. Enter the Posting Division and select Continue. A sales journal will be created and transactions to the customer will be posted.


The journal can be viewed at Posting Menu / Enter Sales. The User ID will be DEFB. The consumption has been billed to the customers’ accounts and can be viewed on the History Inquiry screen.
Also, the Monitor screen includes the following billing information:
- The Billing Date, Last Reading, and Reading Date will be updated.
- Deferred Billing history at the bottom of the Monitor screen will show the billings and how many gallons remain on the delivery.
- New deliveries will be added if there are any. Deliveries do not display here until the Deferred Billing is processed.
- Any customer-owned gallon usage is indicated. Customer-owned gallon usage will not display in the History Inquiry as the customer has already been billed for those gallons.
