The Unscheduled Delivery allows for a delivery to a customer not on the schedule file received from Energy Force.
Reference Scheduled Delivery for more details on the additional options available on the Invoice screen.
- Select Unscheduled Delivery from the Delivery Menu to advance to the Customer / Tank Information screen.
- Select the Customer radial button and select Search to search for a customer. The system will automatically sort the customer file as information is entered.
- Upon choosing the customer the available tanks will populate to choose from.
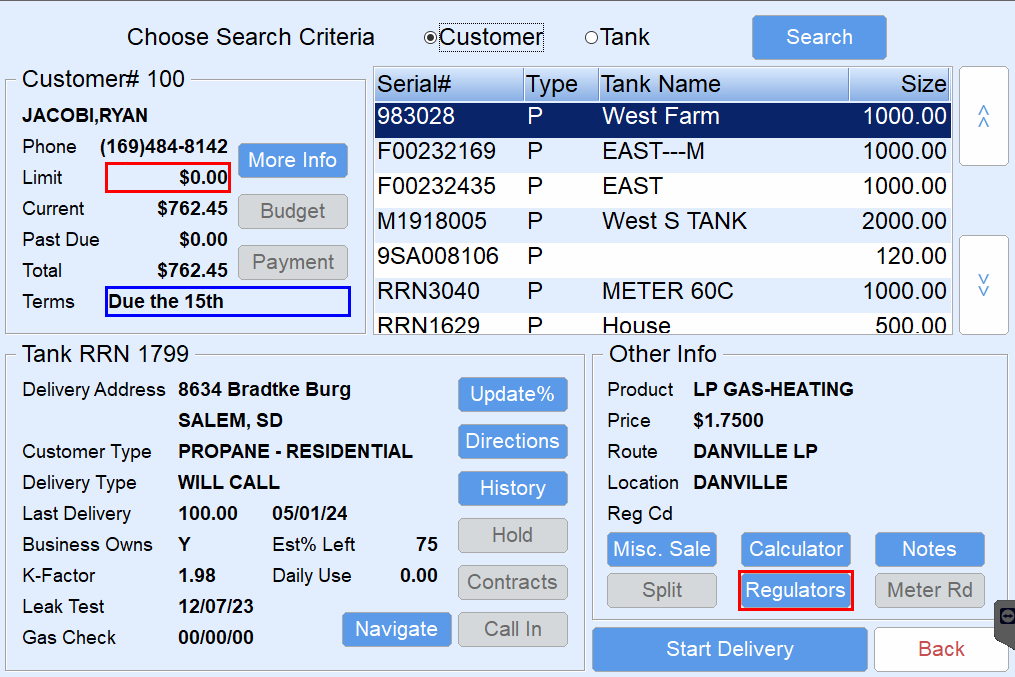
- If the customer has more than one tank, select Start Delivery to advance to the Delivery screen. The Multi-Delivery Pumping Screen will appear. Begin pumping gallons using the steps indicated in Step 5. Multiple gallon deliveries can be pumped and invoiced on one ticket.
- For interfaced electronic registers:
- LCR – Turn the red knob to Run. Pump the fuel then turn the knob to Stop. Allow the switch to rest on Stop for two seconds then turn to Print. After the delivery is complete, a meter block will print on the Blaster Printer located in the cab of the truck. The delivered gallons will also be imported into EnergyTrack in the Meter/Sale/Gal column.
- LC IQ – Press Start on the register to begin pumping fuel. Press End/Print when finished. After the delivery is complete, a meter block will print on the Blaster Printer located in the cab of the truck. The delivered gallons will also be imported into EnergyTrack in the Meter/Sale/Gal column.
- MidCom ECount – Press the Start/Stop button on the register. The register will reset to 0.00. Pump the product and press Start/Stop when finished pumping. Press Print. A meter block will print on the Blaster Printer located in the cab of the truck and the delivered gallons will be imported into EnergyTrack in the Meter/Sale/Gal column.
- Neptune E4000 – Press Start/Enter on the register. The Neptune register will reset to 0.00. Pump the product and press Stop/Cancel when finished. A meter block will print on the Blaster Printer located in the cab of the truck and the delivered gallons will be imported into EnergyTrack in the Meter/Sale/Gal column.
- TCS 3000
Method 1: Press Start/Enter on the register. Use the navigation arrows to select the product and press Start/Enter. If performing a direct delivery, press Start/Enter to begin pumping. Press Stop/Cancel to pause the delivery when finished pumping and then press it a second time to finish the delivery. A meter block will print on the Blaster Printer located in the cab of the truck and the delivered gallons will be imported into EnergyTrack in the Meter/Sale/Gal column.
Method 2: If performing a preset delivery, press Preset, enter the preset amount, and press Start/Enter to begin pumping. Once the preset amount is reached the meter will automatically finish the delivery and print the meter block and the delivered gallons will be imported into EnergyTrack in the Meter/Sale/Gal column.
- For non-interfaced registers:
- Pump gallons on the register as usual.
- Enter gallons pumped in the Meter/Sale/Gal column of the Multi-Delivery Pumping screen by tapping in the field and using the on-screen keyboard.
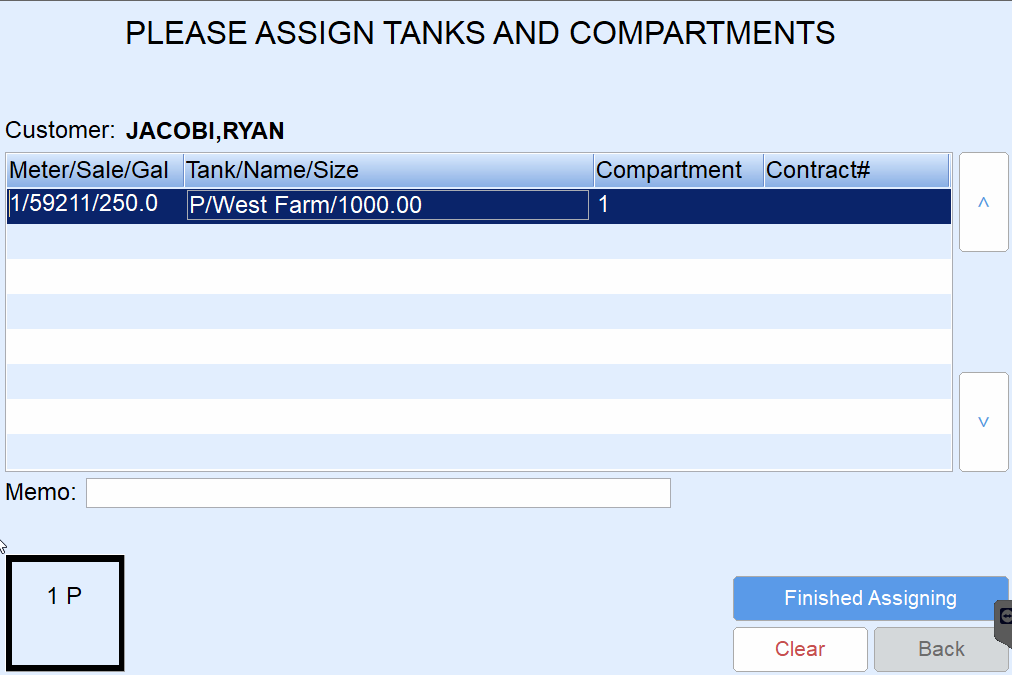
- Select Click here to assign tank on the Please Assign Tanks and Companrtments screen. If the customer has one tank, the tank will automatically default in the Tank/Name/Size field.
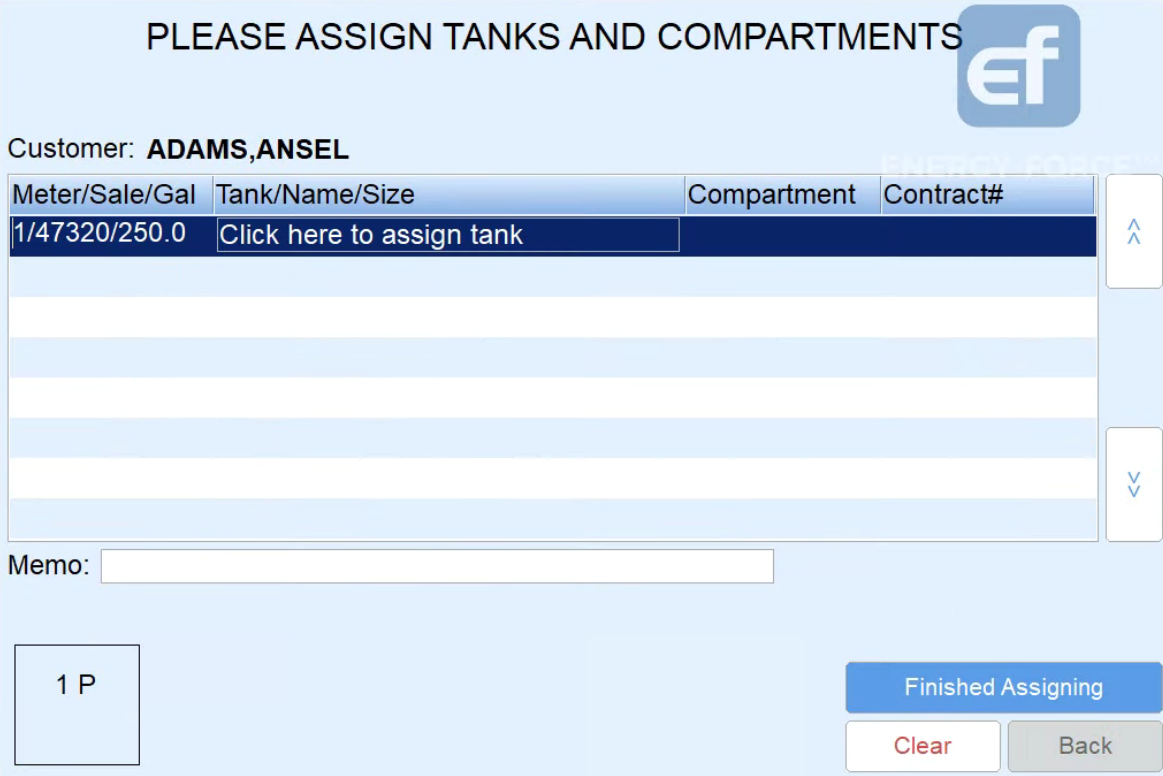
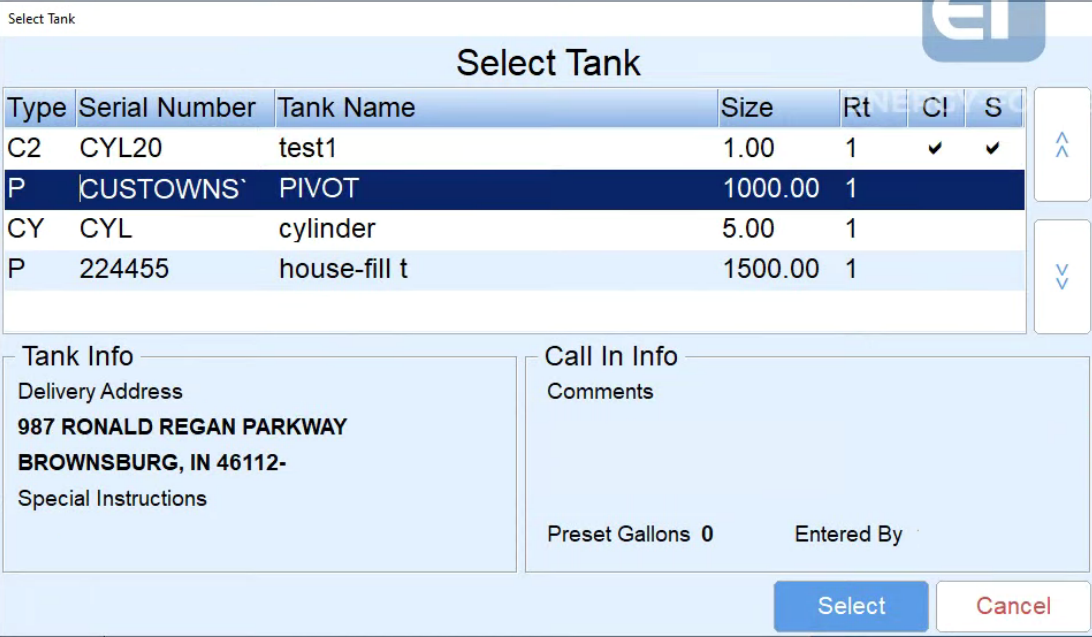
- If the customer has multiple tanks, highlight the gallons pumped and select in the Tank/Name/Size column.
- The Select tank window will display. Choose the tank and press Select to return to the Delivery screen.
- While the delivery gallons are still highlighted, select the compartment (Cm) for the delivery (1 P located in bottom left corner of the Delivery screen). An optional memo can be added to the delivery gallons. This memo prints on the Invoice and is specific to the highlighted gallons.
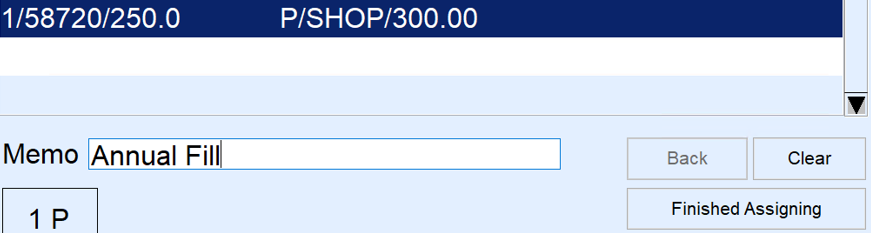
- Press Finished Assigning once all gallons have been assigned. The invoicing screen will appear.
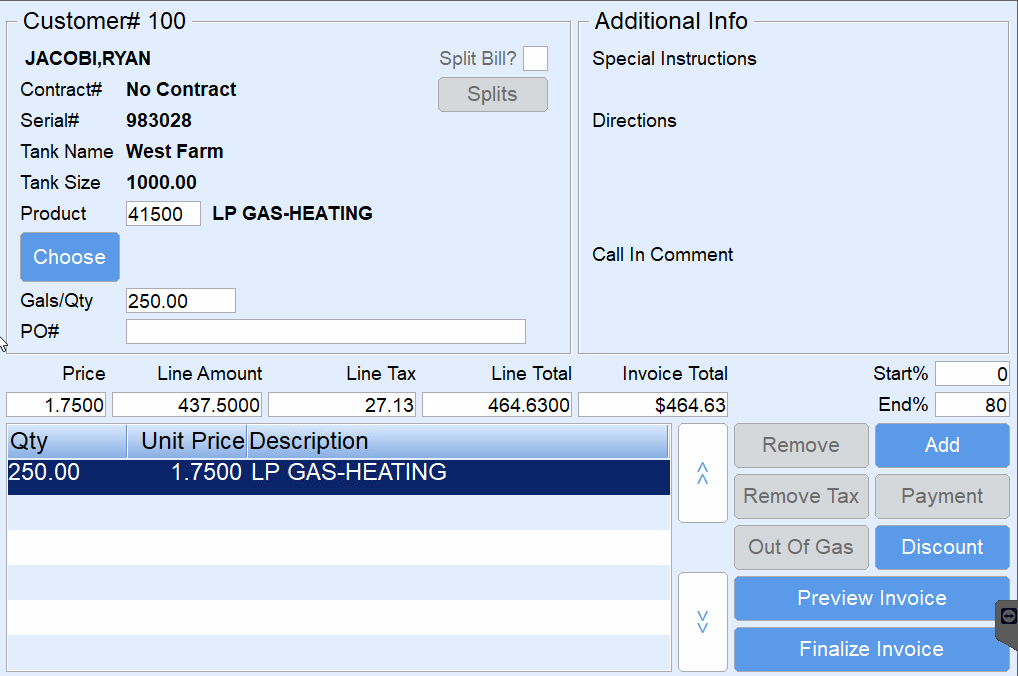
- Review the invoice for accuracy. If the invoice has more than one product, tap on the product line in the lower left portion of the screen to display the details.
- Department – The product is defaulted based on the tank default in Energy Force. Select Choose if modification of the product is necessary. For gallon deliveries, the system will only show a selection of pumpable products.
- Gallons – Gallons cannot be modified if received from an electronic register. If using a non-interfaced register, tap in the Gals/Qty field and use the on-screen keyboard to modify as necessary.
- Price – Tap in the Price field and use the on-screen keyboard to modify pricing as necessary. If gallons apply to a contract, the price cannot be modified.
- End % – Each set of gallons delivered requires an ending percentage (the Start % is automatically calculated based on tank size). Tap in the End % field and use the on-screen keyboard to enter the ending percent. Be sure to enter an ending percent for each set of gallons listed on the Invoice.
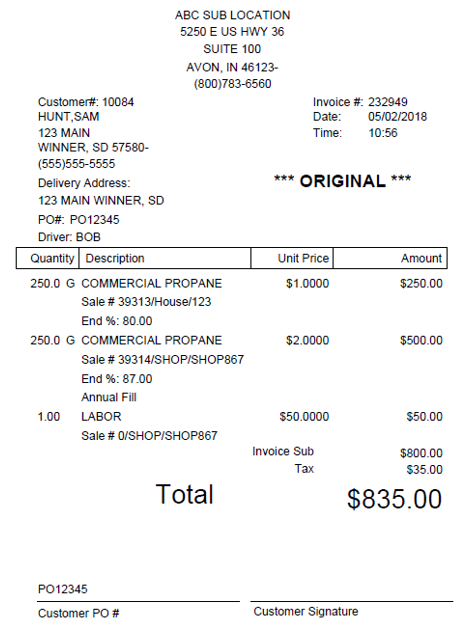
- PO# – Optionally tap in the PO# field to enter the Purchase Order number. This number prints on the customer Invoice.
- Add Item – If additional items such as labor or delivery fees need added to the Invoice, select Add Item. This adds a line to the Invoice with a Qty of zero.
- Highlight the 0.00 line item.
- Select Choose to assign a department.
- Select the Department from the product listing that appears. Tap in the Product column and begin typing to search for product if necessary.
- Choose Select to update the Department associated with the added item.
- Enter the Qty and Price associated with the Department selected.
- Repeat these steps for any additional added items.
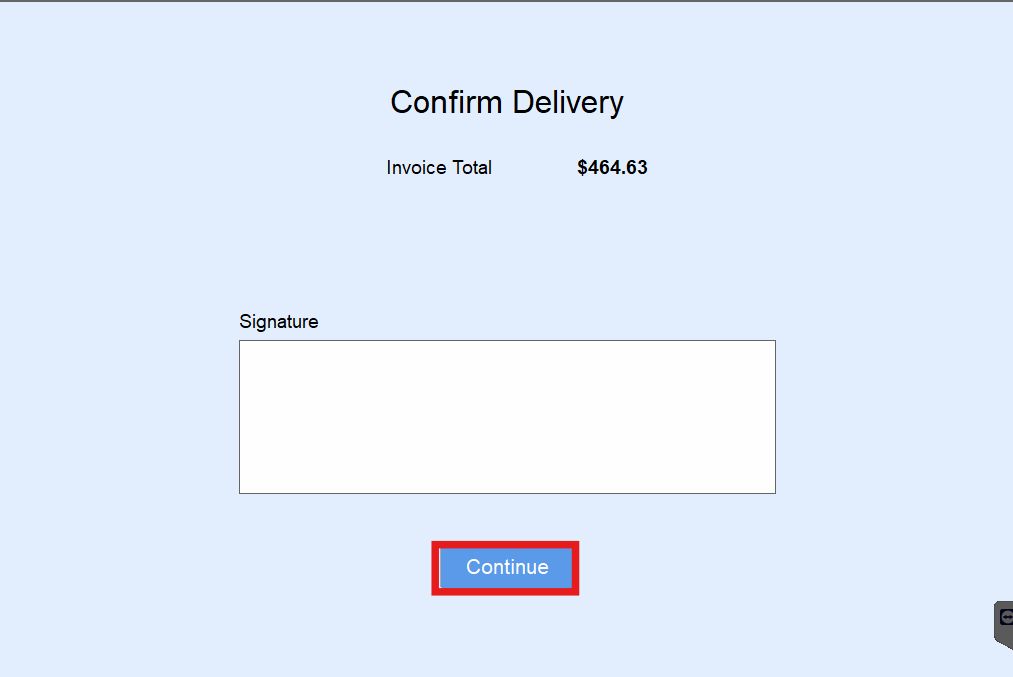
- Select Finalize Invoice. The Confirm Delivery screen will appear.
- If a customer requires a signature on the Invoice, tap in the Signature field, have the customer sign, and choose Continue. If a signature is not required, select Continue.
- Select the number of invoices to print. The customer Tank screen will display and the Invoice(s) will print.
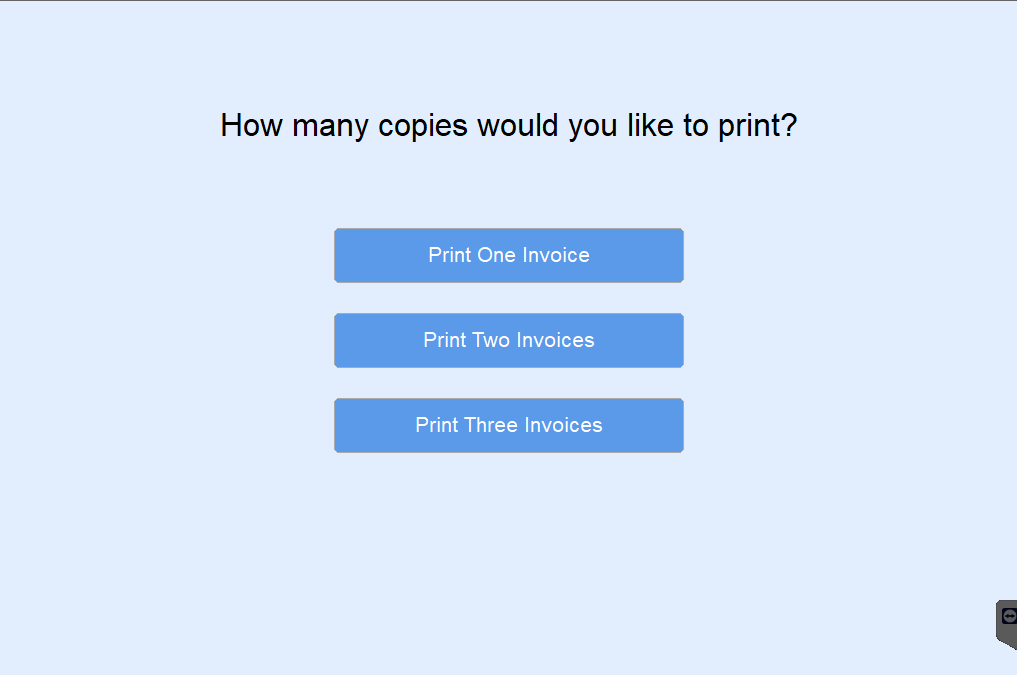
- Choose Back to return to the Unscheduled Delivery Customer list.


