Proper Rental Codes and Tank Rental Amounts must be set up at Supervisor Menu / Maintenance Menu / Maintenance Tables. It is also recommended to confirm that the proper Rental Department code has been set up on the Division Maintenance screen. Please refer to File Management for proper instructions on setting up these items.
Setting Up Tank Rent on Customer Tank
- Go to Main Menu / Customer Menu / Customer Maintenance.
- Search to select the customer name needing Tank Rent applied.
- Select Tank Info. This will bring display the Tank Information screen.
- All available tanks assigned to the customer will appear in the top left corner of the screen. Select the tank to apply a rental to.
- Once the correct tank has been selected, go to the Tank tab located on the table in the middle of the screen.
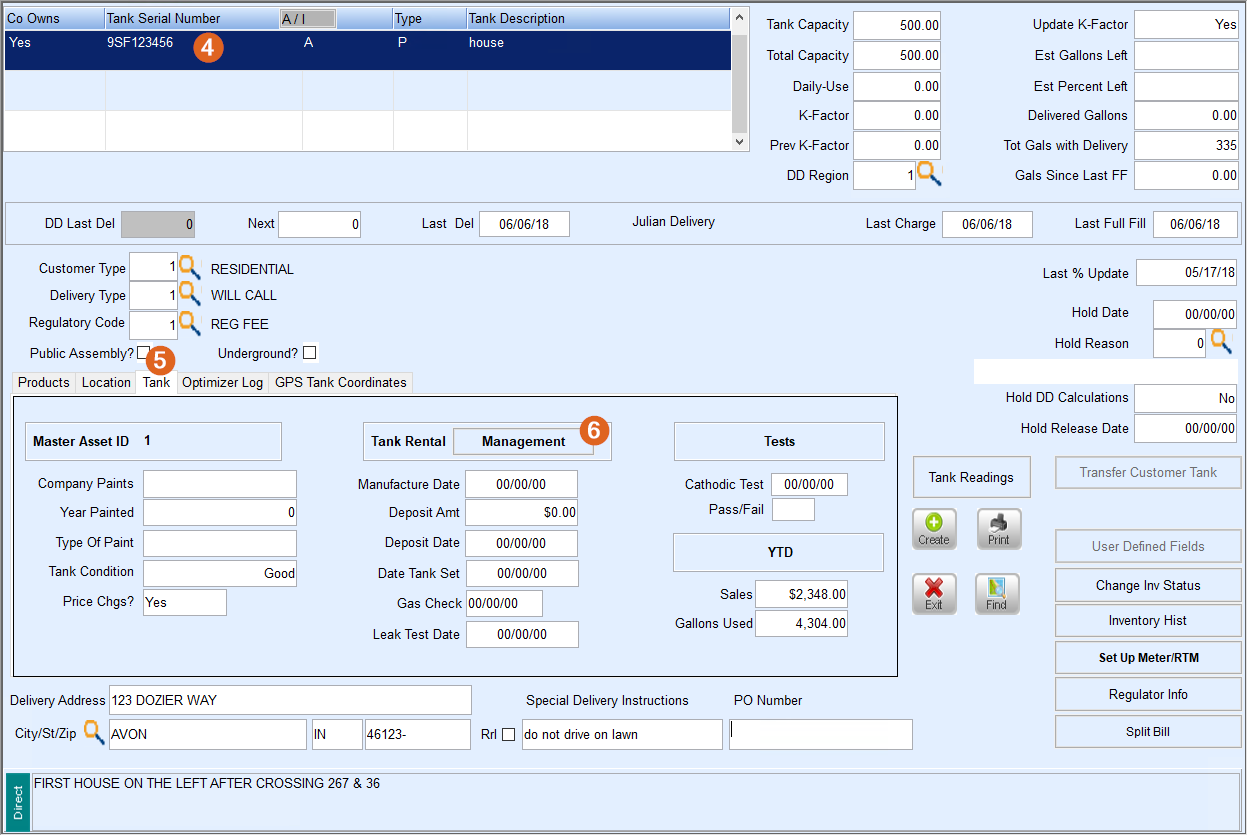
- Choose Management in the Tank Rental area. This displays the Manage Tank Rental screen.

- Select Modify and move the Rental Status radial selection to Active.
- Bill to Customer ID will default based on the original customer account selected.
- If Bill to Customer ID is incorrect (such as a landlord/tenant scenario), press F5 to select the appropriate customer to be billed.
- Select the Billing Type (Gallons or Dollars).
- If Gallons is selected, proceed to Step 12. Gallons will bill the customer based on the quantity consumed at the tank level.
- If Dollars is selected, proceed to Step 11. Dollars will bill the customer based on the set amount for the tank size regardless of the number of gallons being consumed.
- Select the Billing Frequency (Monthly or Yearly).
- Enter the Bill Month the customer will be billed for the tank rent.
- Press F5 in the Rental Pricing Code field to review a list of Rental Pricing Code options. Choose the option that will apply to the customer and choose Select. This compares the tank size in the tank file to the tank size in the Tank Rental Amount file, which must match.
- Indicate if the tank is on Lease to Own status. If the tank is Lease to Own, enter the date that the tank is scheduled to be paid off so that the customer will no longer be billed in the Don't Bill After field.
- Select the Lease Status as it applies to the customer.
- Enter the Lease Number if applicable.
- Asset ID will default based on the tank selected from the Tanks for Customer screen.
- Tank ID will default based on the tank selected from the Tanks for Customer screen.
- Choose Save and Exit when completed.


Post Tank Rent to Customer Accounts
- Go to Main Menu / Month End Menu.
- Select Tank Rental Menu / Tank Rental Statements. This will display the Tank Rental Journal Entry screen.
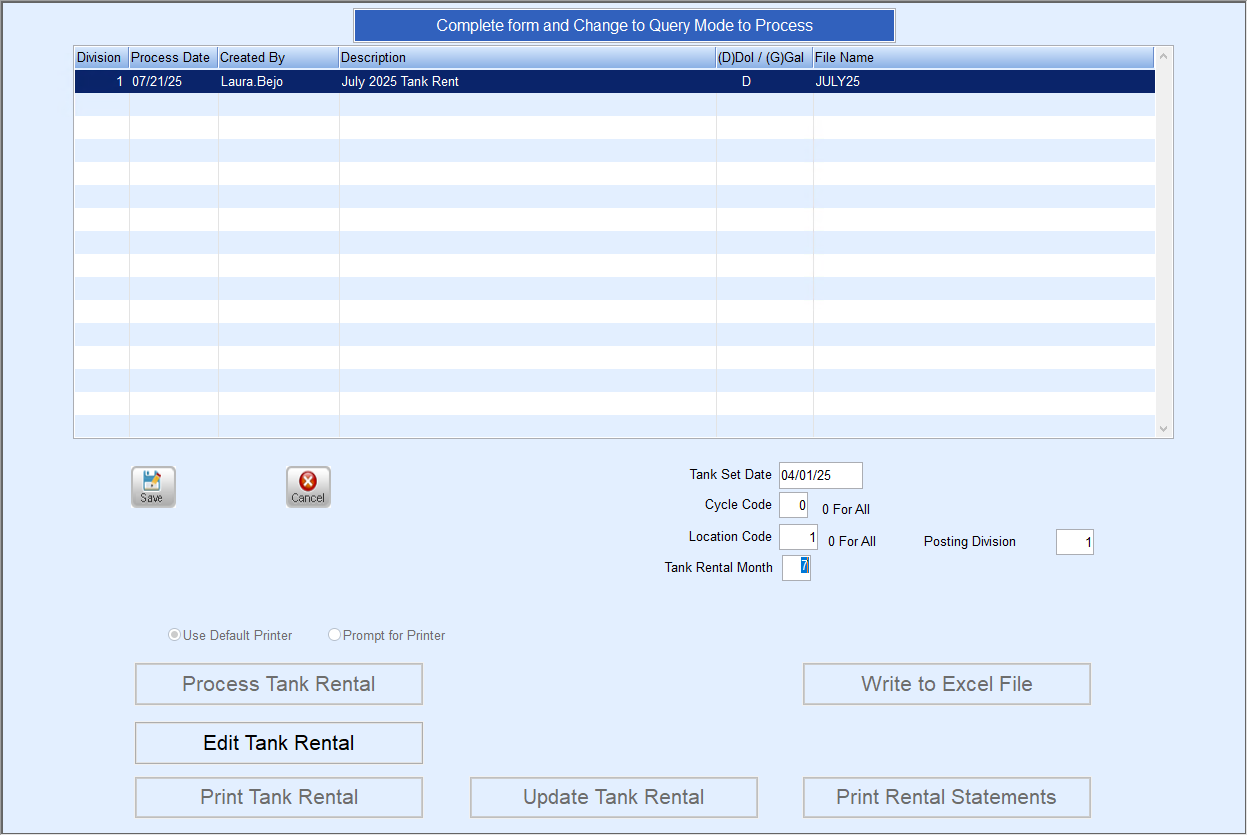
- Choose Create.
- Enter the Division Code for the Tank Rentals that are to be processed and press Tab.
- The Posting Date that the charges will apply automatically defaults. Adjust accordingly if necessary and press Tab.
- The Posting Journal will be created by this date as well.
- Created By automatically defaults with the user name signed into Energy Force. Press Tab.
- Enter a Description for the tank rental file. This name should be unique to be easily identified if an issue arises.
- In the (D)Dol/(G)Gal section, enter D to process tank rentals by Tank Set Date.
- If billing a specific amount based on tank size, choose (D) Dol.
- If billing tank rent based on gallons consumed, select (G) Gal.
- Enter the Tank Set Date.
- If using today’s date as the Tank Set Date, the system will perform a search to query all tanks set prior to this date. This will ensure that all customers with Rentals are billed accordingly.
- Enter the Cycle Code for billing. Press F5 for a complete listing of codes.
- The Cycle Code must match the Statement Cycle Code applied to the customer Address & Information tab.
- Enter the Location Code. Press F5 for a complete listing of codes.
- The Location Code must match the Location Code entered under Tank Info.
- Enter the Tank Rental Month to process tank rentals. This month corresponds to the month assigned on the Tank Rental Setup screen.
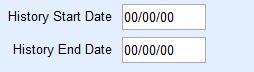
- If processing by gallons, it will be required to enter the History Start Date and History End Date. This will calculate all gallons delivered during that time frame and should be used consistently on a yearly basis.
- Choose Save or press Ctrl+Q to save the information.
- Choose Process Tank Rental.
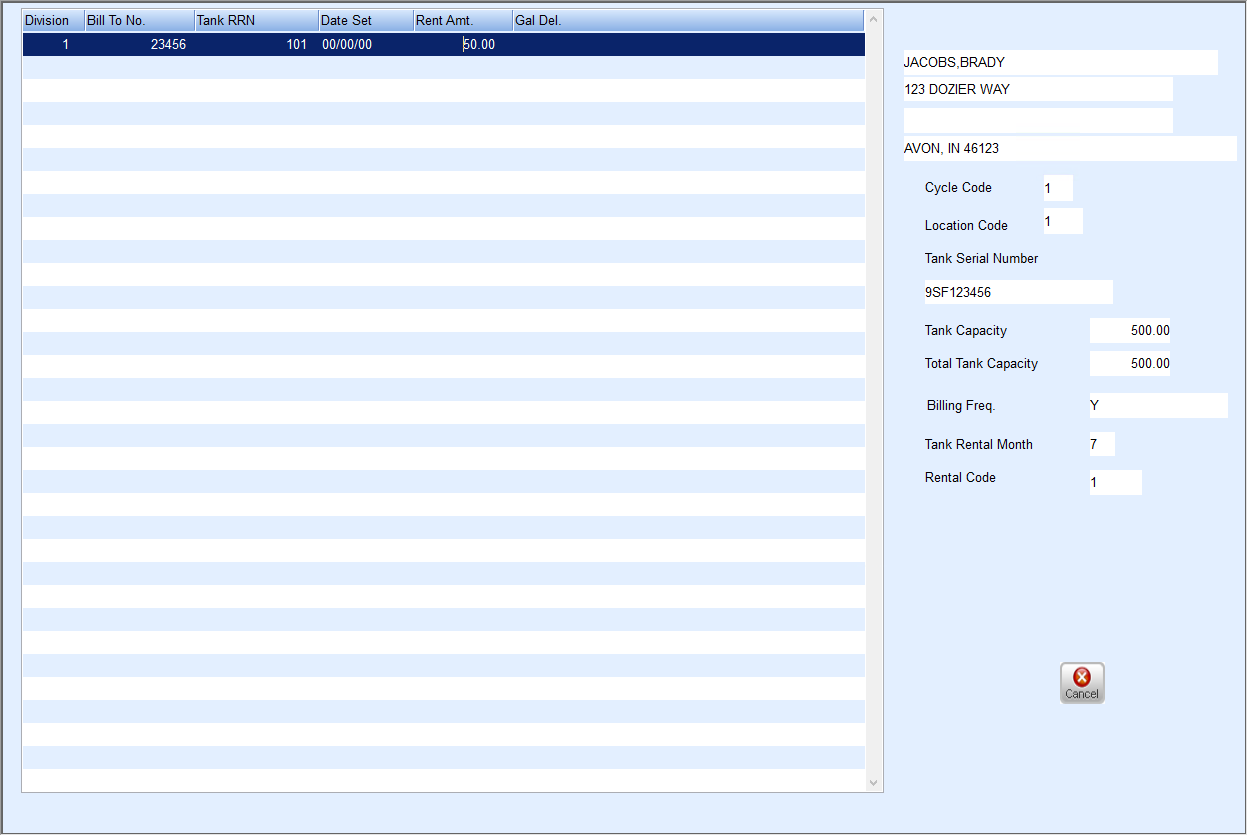
- Once the program has finished processing, select Edit Tank Rental to review amounts that may need to be modified.
- Select Print Tank Rental button to review or print a tank rental report.
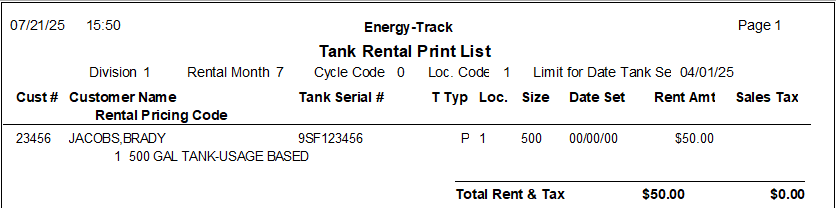
- Review the data for accuracy.
- If data appears to be correct, proceed to Step 19.
- If data is incorrect, close the report and choose Edit Tank Rental on the Tank Rental Statements screen.
- Press Ctrl+M to modify information as needed and then press Ctrl+Q to save.
- Select Cancel to return to the Tank Rental Statements screen.
- Choose Print Tank Rental to review changes and ensure accuracy.
- If data is still incorrect, repeat Steps i - iii.
- Select Update Tank Rentals. This will apply the charges to the customer accounts and update accounts receivable.
- Close the Tank Rental Statements menu when completed.


Additional Information:
- The option to Print Rental Statements (Step 17) is only on plain paper. No other charges or payment information will display.
- Tank Rental Charges will also print on the next normal statement with other charges and payments.
- If a tank rental file has already been updated, the Update Tank Rental button will not be available.