If using an electronic register interface such as LC, EMH, Neptune, or Mid Com, the truck computer should be in the docking station and the register powered up prior to starting the shift.

- Select Start Shift.
- Tap the Choose button to select a truck.
- If there are multiple Divisions, make sure to select the correct Division and Truck.
- Tap the Choose button to select the Driver.
- If there are multiple Divisions, make sure to select the correct Division and Driver.
- Enter the current Odometer reading and tap the Verification checkbox.
- Verify the Totalizer reading and tap the Verification checkbox.
- In the % field, enter the percentage of propane in the truck at the start of the shift. Tap the Verification checkbox then tap in the Prod Odorized field (if applicable).
- Tap Continue to finish the Start Shift process. The Delivery Menu will appear once the Start Shift process has been fully completed.
Note: The truck Division selected at the start of a shift is the sales posting Division in Energy Force.
Truck Inspection
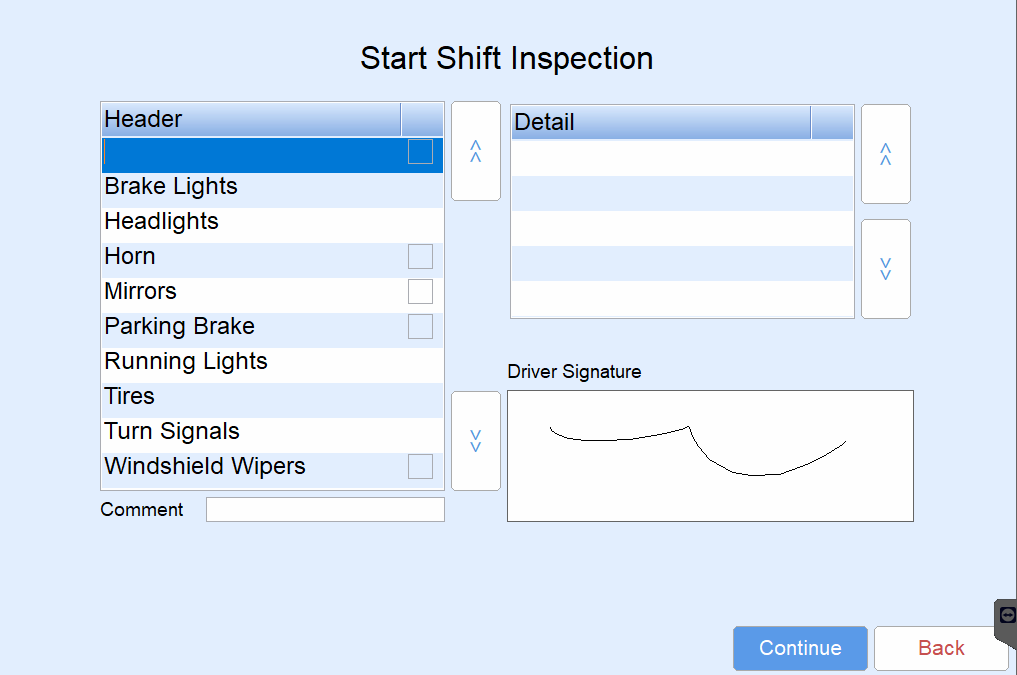
This is an optional feature that appears after selecting Continue on the Start Shift screen.
- Review items listed for the inspection. If an item listed is an issue, checkmark the box next to the item.

- A Comment area will appear for each item that checked for an issue. Comments entered will appear on the printed Shift Inspection report in the Remarks section.
- Sign on the Driver Signature line and tap Continue.
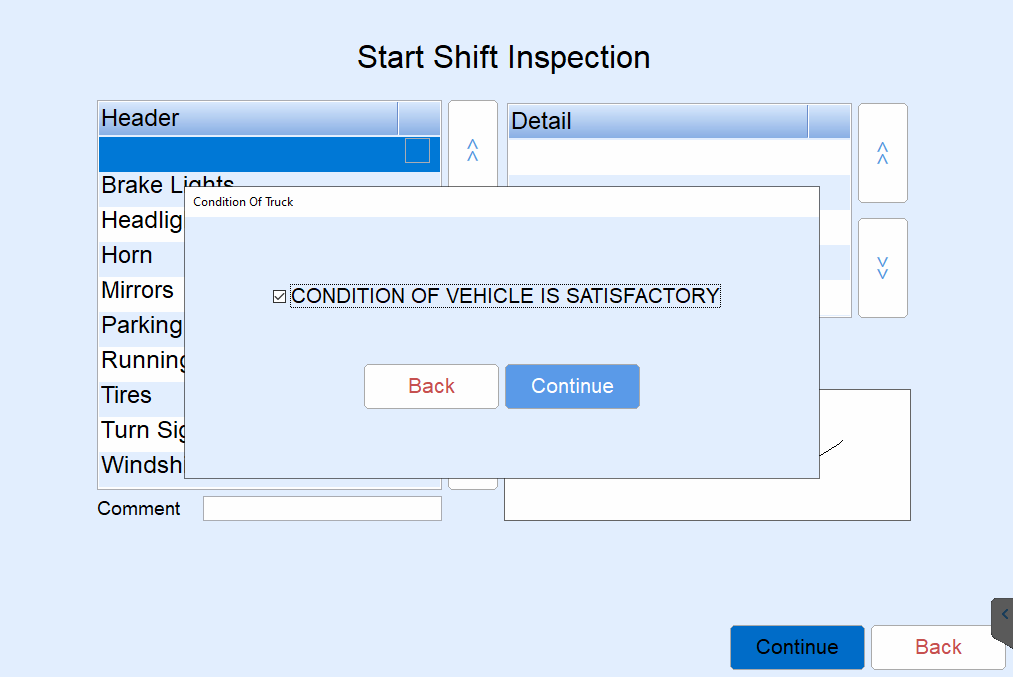
- Tap in the box next to Condition of Vehicle is Satisfactory and select Continue.

- Select the number of inspections to print. The Delivery Menu will display.
Note: Truck Inspections are customizable within Energy Force to accommodate company requirements. Contact office personnel for customization needs.

