The Inventory module is where all items that are used to provide service to customers are entered and adjustments are made.
Inventory Types
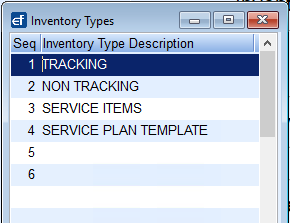
These are the types of inventory items that will be tracked in EnergyService such as Tracked Inventory, Non-Tracked inventory, etc.
- From the EnergyService menu, select Inventory.
- Choose Inventory Types.
- Press Ctrl+C to create.
- Seq will automatically be assigned once the Inventory Type is saved.
- Enter the Inventory Type Description and press the Down Arrow or F4 to enter another line item.
- Press Ctrl+Q to save.
Product Categories
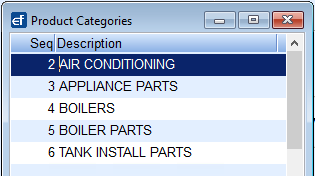
Product Categories are used to group specific items.
- Select Product Categories.
- Press Ctrl+C to create.
- Seq will automatically be assigned once the category is saved.
- Enter the Product Category Description and press the Down Arrow or F4 to enter another line item.
- Press Ctrl+Q to save.
Inventory Items
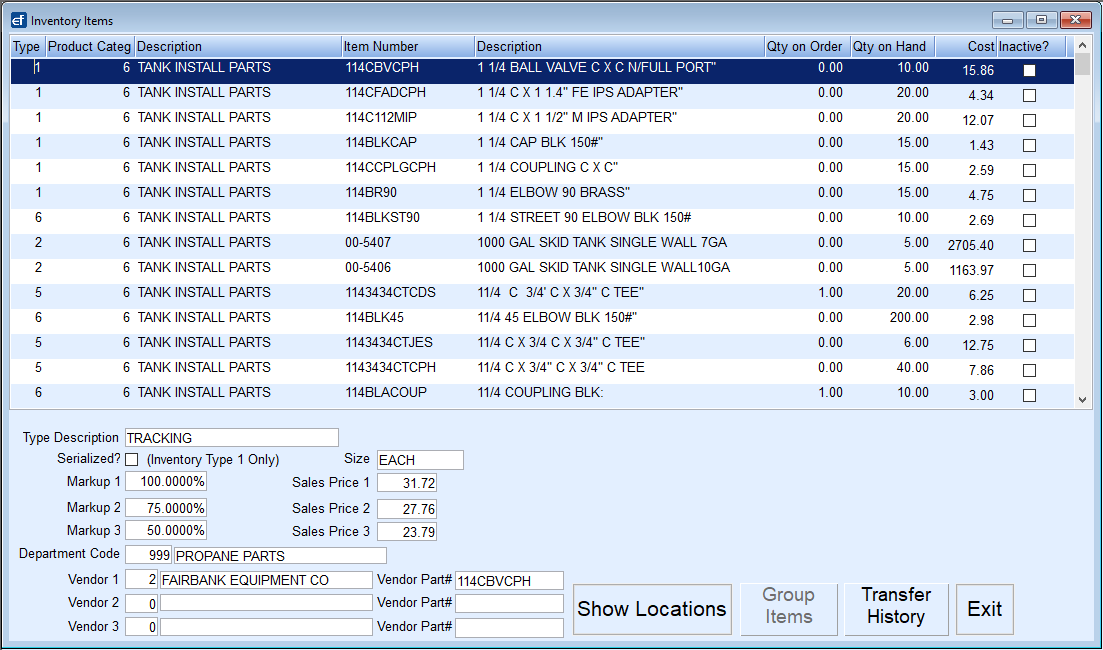
All inventory items used in Service are entered and tracked in this module. Markup pricing, Sales pricing, vendors, Locations, etc. are updated in this file as well.
- From the Inventory menu, select Inventory Items.
- Press Ctrl+C to create.
- Enter the Type of inventory being entered.
- In Product Categ, press F5 and select the proper category.
- Enter the Item Number assigned to the product.
- Enter the Description of the product.
- Qty on Order and Qty on Hand will be uploaded the first time after initial inventory has been taken. See here for more information.
- Enter the Cost of the product prior to markup.
- The Type Description will automatically display the description selected from Step 3.
- Select the Serialized? box to indicate this product has a serial number.
- Press F5 to select the Size.
- Markup Pricing is used to indicate the price markup of the product based off of the Cost entered in Step 8. This item is then tied to the Price Zone in the customer's Service Location file to determine pricing at the time of a Proposal quote or invoicing. Enter the Markup 1 percentage.
- Sales Price 1 is the extension of the Cost plus the Markup 1 percentage and is automatically populated.
- Enter the Markup 2 percentage. Sales Price 2 will automatically calculate.
- Enter the Markup 3 percentage. Sales Price 3 will automatically calculate.
- Press F5 in the Department Code field and select the department the product will be tied to in Energy Force. This item will appear on the Sales Journal and Customer History screen.
- Press F5 in the Vendor 1 field and select the vendor from which the product was purchased.
- Enter the Vendor Part#.
- Repeat Steps 17 and 18 for Vendor 2 and 3 if applicable.
- Select Show Locations. Enter the Warehouse with the inventory item. More than one location can be listed if the inventory item is present at those facilities.
- Press F5 in the Location# field and select the Warehouse or Vehicle for the inventory item.

- If tracking parts by a specific Bin, enter the Bin name or number.
- Enter the Qty and press Tab. If setting up inventory for the first time to import from spreadsheet, this will update using the utility.
- Enter the Refill at amount. This represents when more items should be purchased.
- Enter the Refill to amount. This represents the number of items that should be ordered.
- Press the Down Arrow or F4 to insert a new line to add more Locations. Otherwise, select Exit.
- The item will automatically save. Press Ctrl+C to create a new item.

Sizes
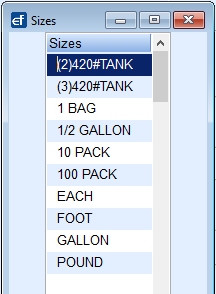
This Maintenance Table is used to track the size of items used in EnergyService such as quarts, gallons, each, etc.
- From the EnergyService Inventory menu, select Sized.
- Press Ctrl+C to create.
- Seq will automatically be assigned once the Size has been saved.
- Enter the Unit Size Description.
- Press the Down Arrow or F4 to enter another line item.
- Press Ctrl+Q to save.