- Navigate to the Customer Maintenance screen.
- Select the customer account.
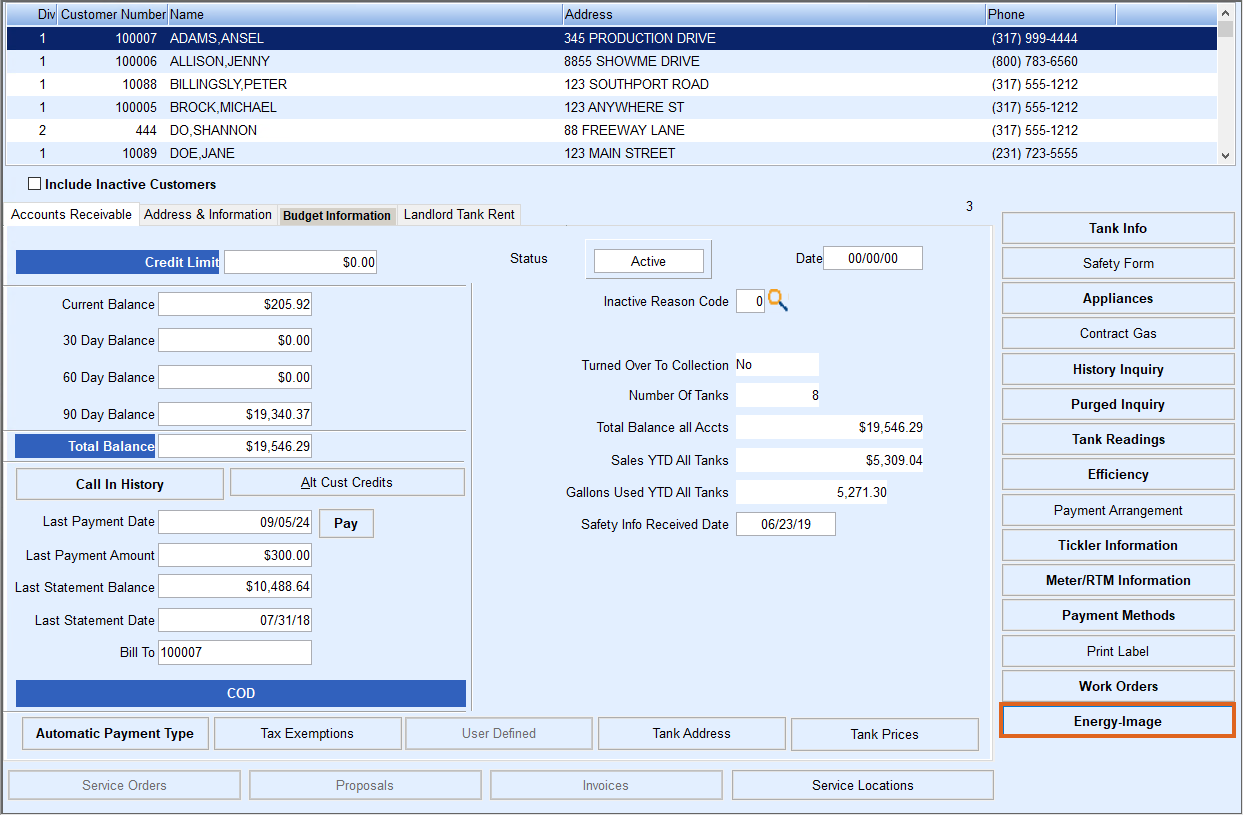
- Select Energy-Image.
- Select Create. If this is the first time adding an image the Create Photo Attachment screen automatically will appear, then select the Image Type from the drop-down.
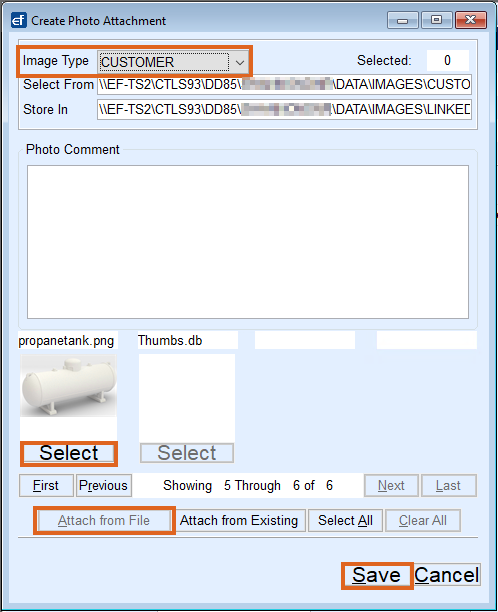
- The Image Type is typically named the same as the shortcut folders described here.
- Select Attach from File to attach an image.
- Images (thumbnails) will appear. Select Next/Last or First/Previous to review the images.
- Choose Select under the image to be attached. Multiple images can be attached by choosing Select under each desired image.
- Select Save when image selection is finished. This will return to the EnergyImage screen.
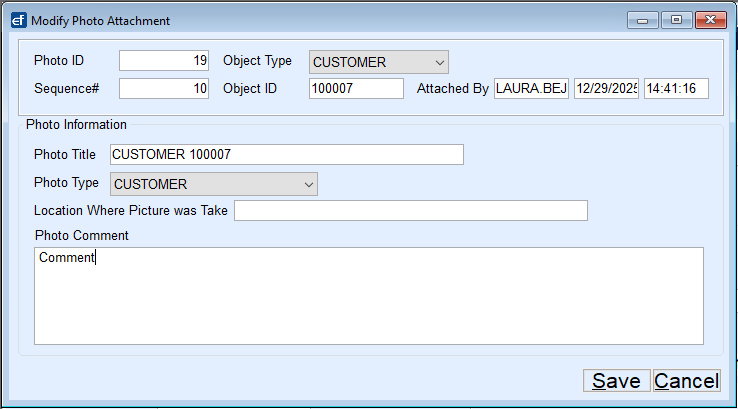
- Select Modify to rename the Photo Title and add a Photo Comment.
- Enlarge the photo for review, Print, or Delete the photo.
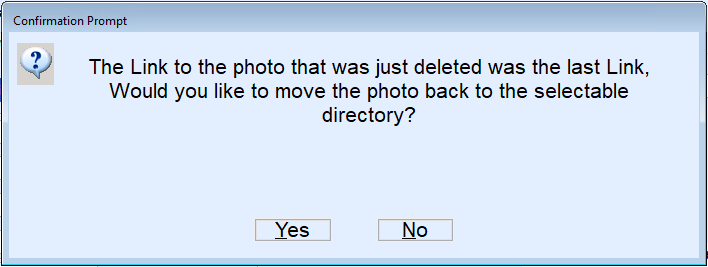
- If Delete is selected, a prompt will appear asking if the image should be moved back to its original folder, allowing it to be reattached to another account.
- If Delete is selected, a prompt will appear asking if the image should be moved back to its original folder, allowing it to be reattached to another account.


