Overview
A listing of all Energy Product Delivery Orders (PDO) is available in SKY Energy. The list can be narrowed down by selecting the Filter icon and entering a filter criteria or or any grid cell with the search bar located in the header. When typing, the grid will populate based on the text entered. Choose the Ellipsis at the top to Reset Grid from filtering or Autofit Columns.

Columns displaying include:
- Ticket Number – Formerly known as Call In ID.
- Location
- Call In Date
- Due Date – This column defaults to ascending (oldest date at the top).
- Status – This column defaults to show Incomplete first.
- Customer
- Phone
- Tank Serial Number
- Order Type
- Tank Description
- Route
- Region
Note: Any field without data will show a double dash (--).
A full page view of Product Delivery Order information is available by selecting the Ticket Number on the Orders grid or from the Tank History page.

For more information on how to use the Energy Product Delivery Order grid see, Using Grids in Agvance SKY.
To view more Customer details, select the Customer name link to open that specific Customer’s SKY Customer Overview page. Read more about the SKY Customer Overview page.
Product Delivery Orders
A user permission is required to enable adding or editing a Product Delivery Order within SKY Energy at SKY Company Admin / User / Edit User. Toggle on Add/Edit Order to add or edit a Product Delivery Order on the Orders page of SKY Energy that has not been invoiced. Invoiced PDO’s will always be view only.

On view of a Product Delivery Order, selecting Tank Serial Number opens the selected tank information in a new tab and with access to SKY Customer, selecting Customer Name opens the selected customer's SKY Customer page in a new tab.
On the Add/Edit view of a Product Delivery Order, selecting Tank Serial Number opens the selected tank information in a new tab, and with access to SKY Customer, Customer Name opens the selected customer's SKY Customer page in a new tab. Also, to change or remove the selected tank on a new PDO, select Remove Tank. That tank will be removed and the + Add Tank button will be visible again.
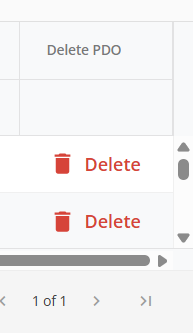
Delete Product Delivery Orders from the Orders page using the Delete action column if incorrect or unneeded. The SKY User permission Delete PDO is required to use the Delete option.

Open SKY Energy / Orders, hover over the blue + icon, and select New Product Delivery Order.
On the New Product Delivery Order page, all fields will appear with sections expanded. The left navigation tree expands view upon hovering, and choosing a section will jump to that area of the form.

Tank

- Add the Tank to order by selecting + Add Tank to open the search overlay and choose from active tanks. The Tank Serial Number, Customer Name, Location, and Credit Status fields will populate upon choosing Select + Close.
- Once the Tank has been added, it can be removed and replaced if needed by selecting Remove Tank and choosing + Add Tank to select the replacement.
Note: Adding a Tank is required to enter a Product Delivery Order.
Order Details

- Call-in Date – Required field that auto fills with the current date.
- Due Date – Required field that auto fills with the current date.
- Additional Comments – Include comments when creating a PDO for the driver to help with the order once received.
Delivery

- Product Name / Product ID / Product Location
- If a Tank is not selected, the following message displays: Select a Tank to manage delivery options.
- Once a tank is selected, the Product Name, Product ID, and Product Location attached to the Tank will display. Using the Change Product button opens a Product search overlay for a new Product selection.
- If there is not a Product attached to the Tank, + Product displays and is mandatory to save an Product Delivery Order.
- Determine Remaining By / Current %
- If a tank has a monitor, the Determine Remaining % By drop-down will default to Monitor with Current (%) or optionally choose Calculated.
- If a Tank does not have a monitor, the default is Calculated and displays in a read-only state with Estimated (%). Estimated (%) will default to values in the database but can be changed.
- Out of Gas – Mark the tank on the as Out of Gas
- Times Out of Gas – Counts how many times the Tank has previously been out of gas.
- Delivery By – Defaults to Fill Percent or choose Number of Gallons or Amount of Purchase.
- Delivery Amount (%) / Delivery Amount (Gal) / Amount of Purchase ($)
- If Fill Percent is selected, Delivery Amount % displays with an initial value of 0. This can be changed if needed and has a maximum of three numeric characters.
- If Number of Gallons is selected, Delivery Amount (Gal) displays with an initial value of 0. This can be changed if needed and has a maximum of five numeric characters.
- If Amount of Purchase is selected, Amount of Purchase ($) displays with an initial value of 0. This can be changed if needed and has a maximum of four numeric characters.
- Charge Price – Price charged per gallon.
Notify Driver
Upon saving the PDO, a standard formatted email will be sent to the email associated with that driver. By default, any Drivers already linked to a tank will display. Additional drivers can be selected by choosing the + Add Driver button.

- Driver ID
- Driver Name
- Driver Email
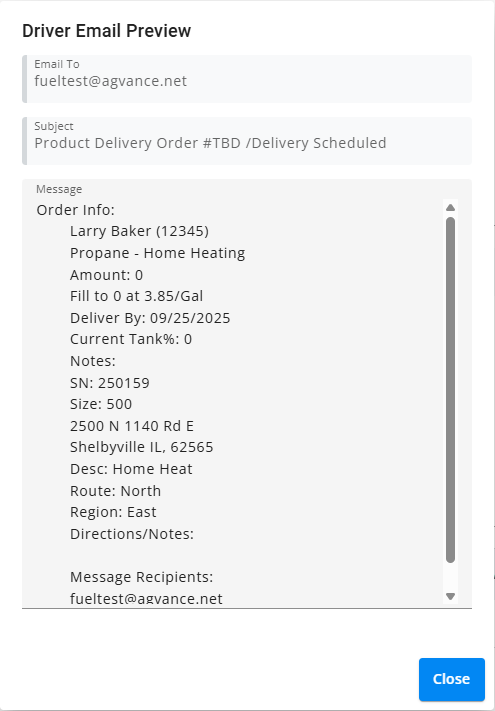
- Preview Message –Selecting Preview Message will open a dialog showing what the message to the driver will look like.
- Email from will default to the company’s email as the sender.
- Email To will show Drivers email address.
- Subject to read Product Delivery Order #TBD / Delivery Scheduled.

- Delete – Removes the selected Driver from receiving notifications.
- + Add Driver – When selected, a Driver search modal displays to choose from a list of active drivers.
Saving or Canceling
Select Create Order will save the new Product Delivery Order and route back to the Orders list page. A validation banner at the bottom of the screen indicates the order has successfully been saved.
- If any required inputs are empty, the validation banner will display at the top of the page, below the header, calling attention to required inputs.
- A Tank must be added.
- Delivery Amount (% or Gal) or Amount of Purchase ($) must be entered.
- The validation banner and error state of inputs will display until the user selects Create Order after entering required content.
Select Cancel to close out and return to the Orders screen. If any field was populated, a message displays stating the Tank will not be saved. Select Discard & Continue to cancel the Tank or Go Back to return to the Add Product Delivery Order form.

AR Invoices
View a listing of Energy Invoices tied to Product Delivery Orders (PDO) on the Invoices tab at SKY / Energy / Orders. The list can be narrowed down by selecting the Filter icon and entering a filter criteria or or any grid cell with the search bar located in the header. When typing, the grid will populate based on the text entered. Choose the Ellipsis at the top to Reset Grid from filtering or Autofit Columns.

The Invoice Number is tied to the Invoice. View more Invoice details by selecting the Invoice Number link on any row.


The Invoice opened shows more details including the Status (Open (Invoiced), Reversed, Voided and Paid), Location Name, ID and split information if applicable. The Tank Serial Number is tied to PDO/Invoice and when clicked opens a new tab viewing the Tank Info page for that specific tank. The Product Delivery Order Number opens a new tab to view the relative Product Deliver Order page and related information.

Invoices also show Product detail in grid form and additional PDO details below the grid. The list can be narrowed using the Filter icon and filter criteria or by typing in the search bar located in the header to populate based on the text entered. Choose the Ellipsis at the top to Reset Grid from filtering or Autofit Columns.
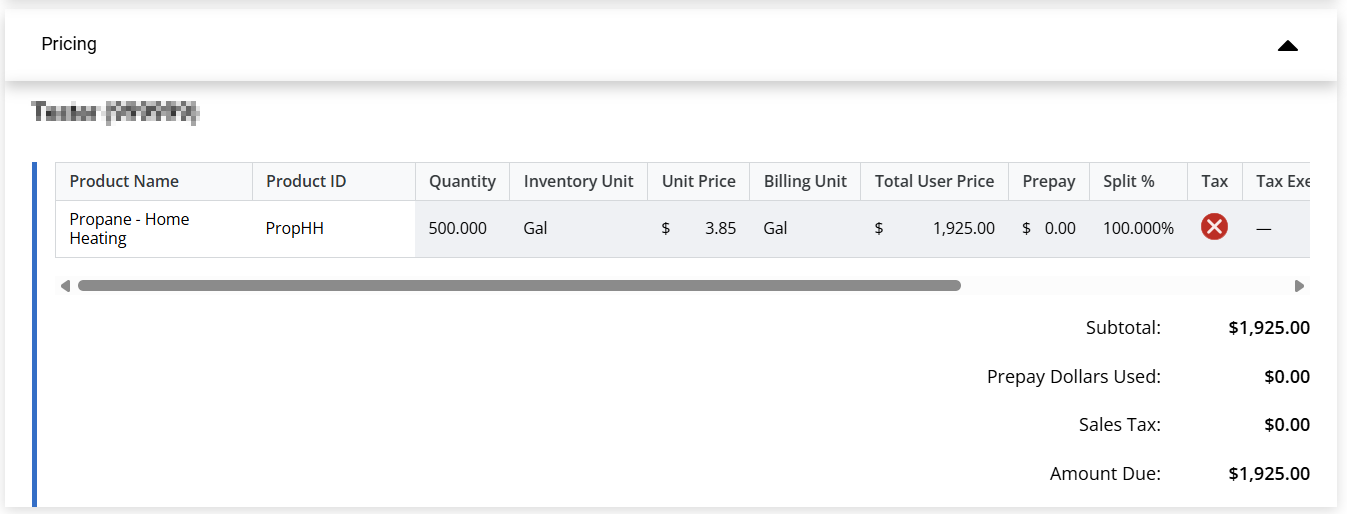
Pricing details display on the Invoice view for review or referencing Energy Invoices.

Note: Any field without data will show a double dash (--).
Budget Billing
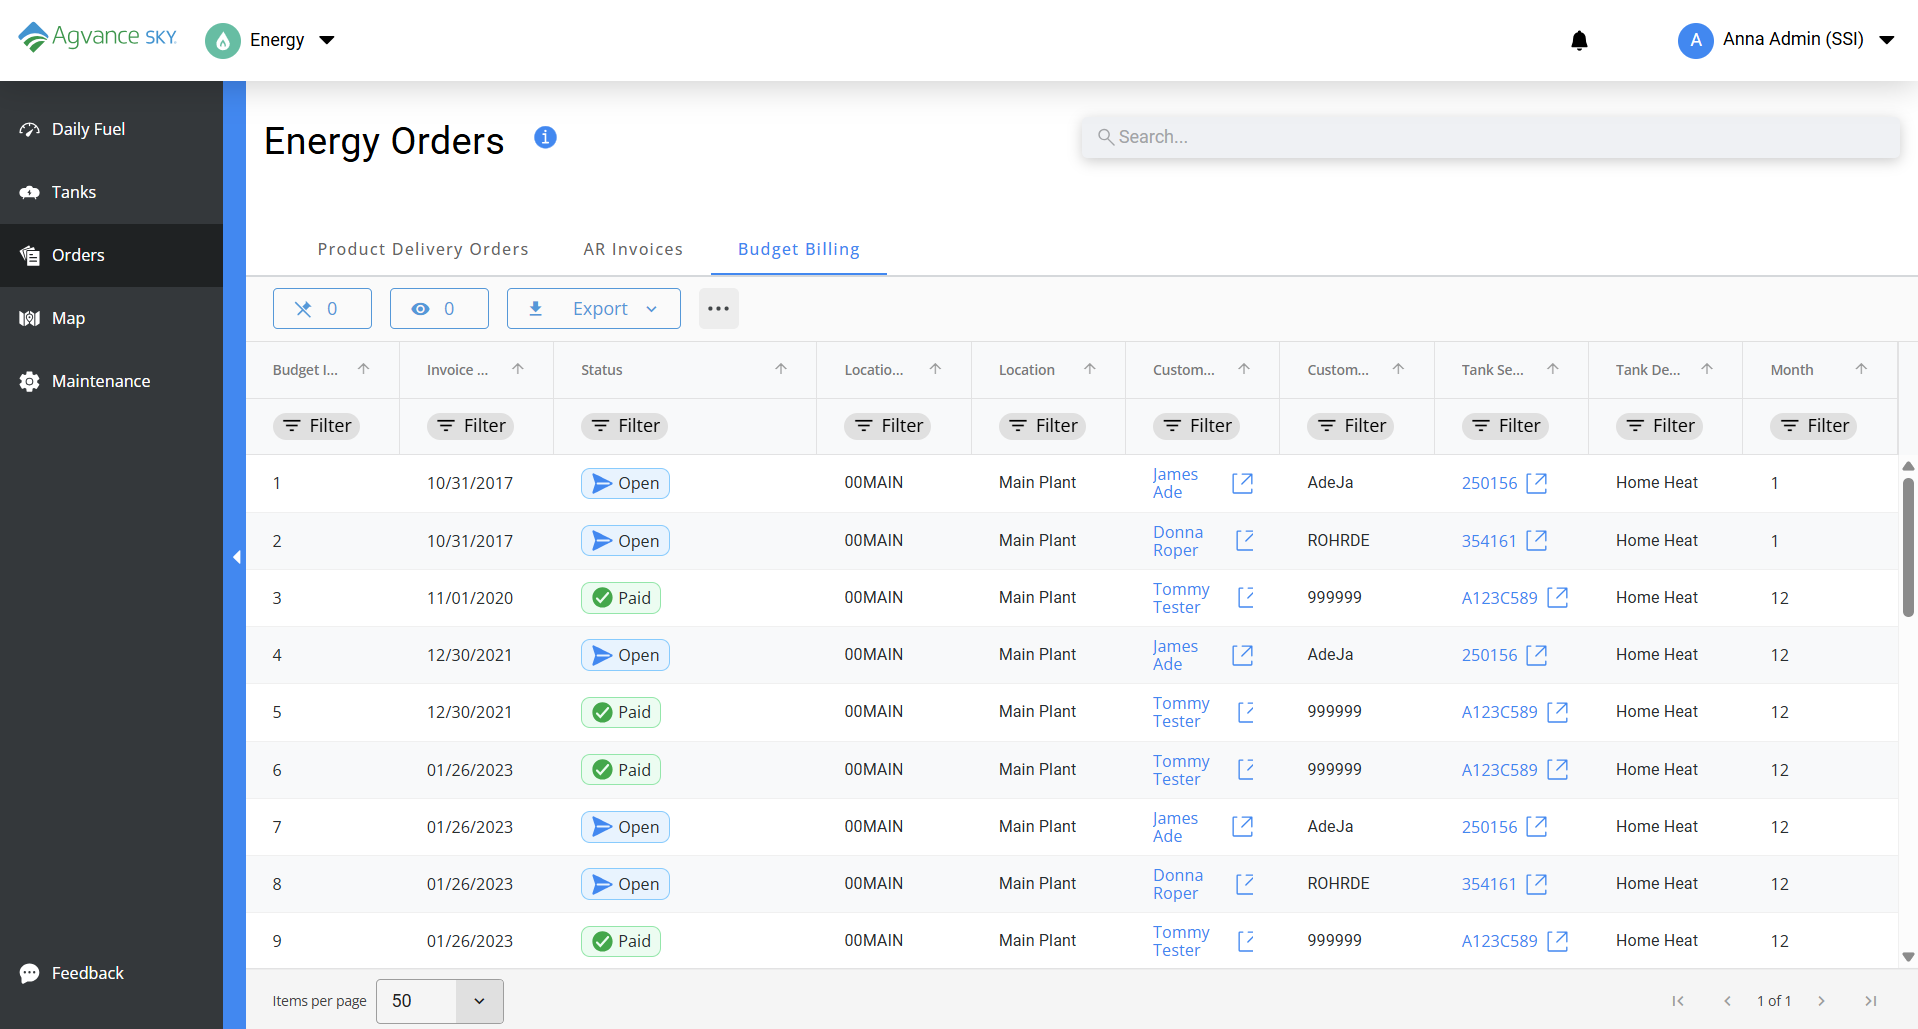
The Budget Billing tab displays a list view of all Budget Billing customer invoices at SKY / Energy / Orders. The list can be narrowed down by selecting the Filter icon and entering a filter criteria or or any grid cell with the search bar located in the header. When typing, the grid will populate based on the text entered. Choose the Ellipsis at the top to Reset Grid from filtering or Autofit Columns.
Selecting the Paid status from Budget Billing tab opens the Customer's Payments page in SKY Customer in a new tab.
For all non-budget billing energy invoices see the AR Invoices tab.

